.jpeg?width=361&name=Flow%20Control%20-%20Water%20and%20Wastewater%20(1).jpeg)

| 2# Product | Image |
|---|---|
| Schedule 80 PVC Pipe |

|
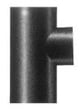
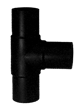
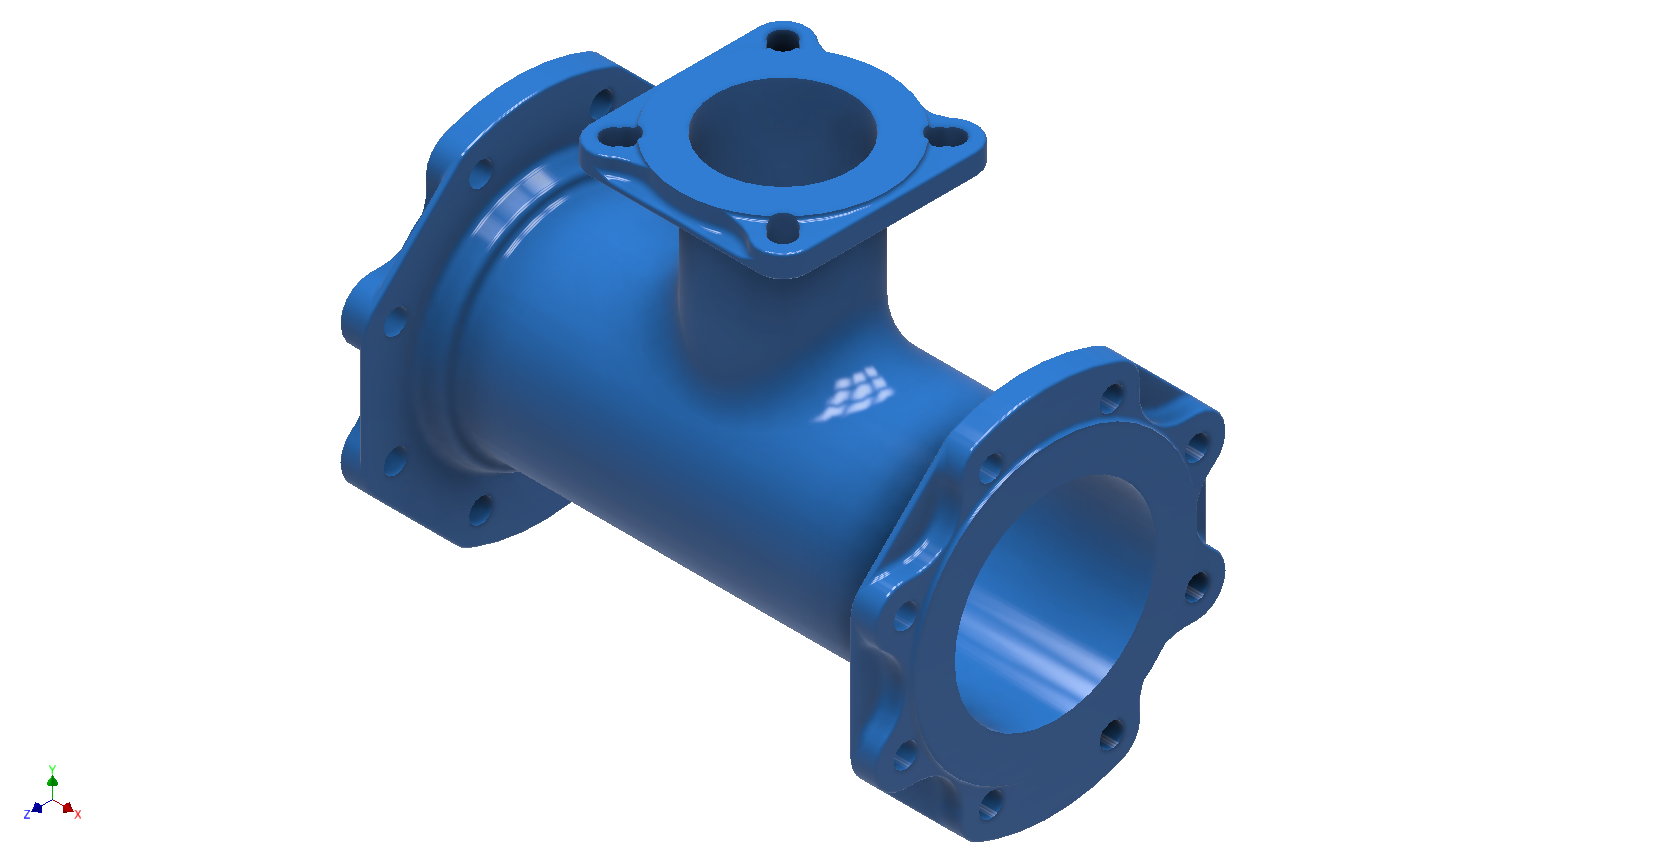
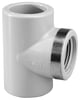
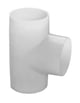
| PVC Tee |

|
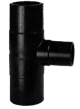
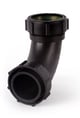
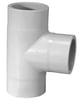
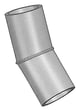
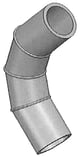
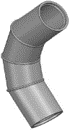
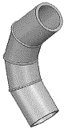
| PVC 90° Elbow |

|
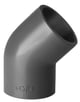
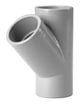
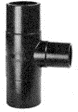
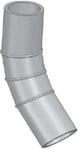
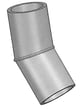
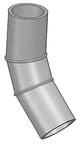
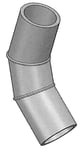
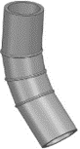
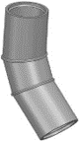
| PVC 45° Elbow |

|
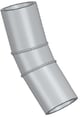
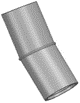
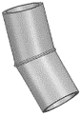
| PVC 90° Sweep Bend Plain |

|
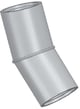
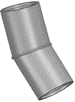
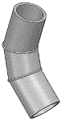
| PVC 90° Sweep Bend Moulded Plain |
|
| PVC Socket Plain/Threaded NPT |
.jpg?width=80&name=PVC%20Socket%20Plain%20-%20Threaded%20(835).jpg)
|
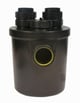
| PVC Socket Union |

|
| PVC Socket Plain |
.jpg?width=80&name=PVC%20Socket%20Plain%20(829).jpg)
|
| PVC Socket Plain/BSP Threaded |

|
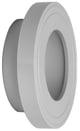
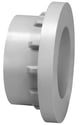
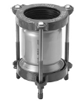
| PVC Van Stone Flange Swivel Ring |

|
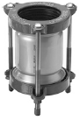
| PVC Van Stone Flange Drilled Table E |
|
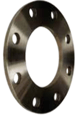
| PVC Flange (Spigot Van Stone) |

|
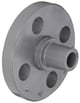
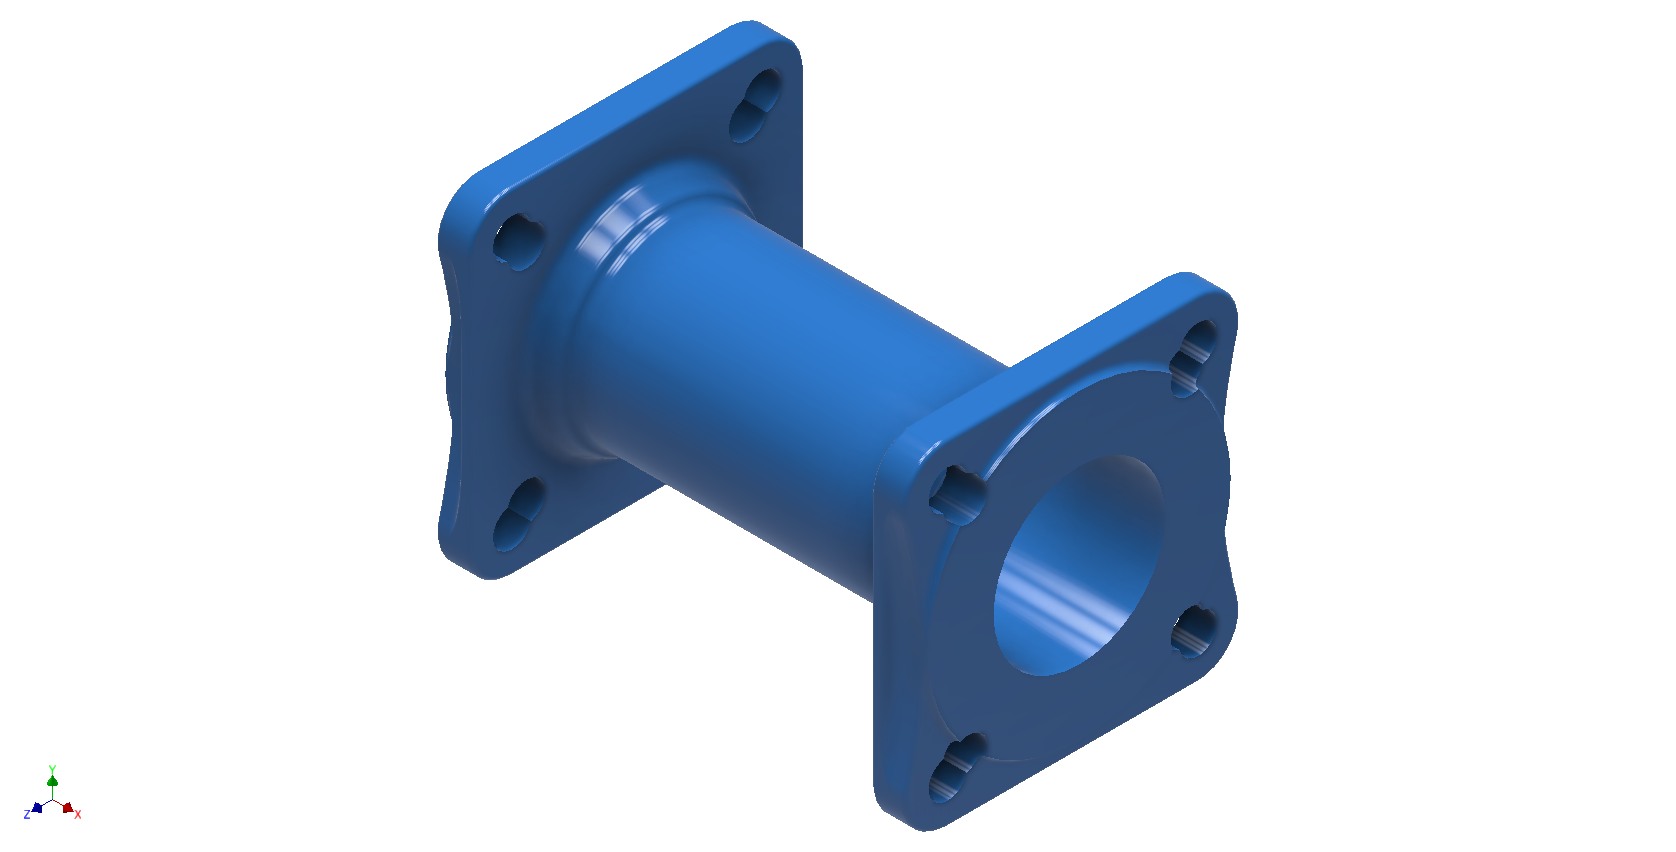
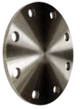
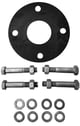
| PVC Stub Flange PN15 |

|
| PVC Van Stone Flange Drilled DIN |
|
| PVC Van Stone Flange Universal Drilling |
|
| PVC End Cap |

|
| PVC Plug BSP |

|
| PVC Male NPT Hosetail Adapter |

|
| PVC 90° Hosetail Elbow NPT |

|
| PVC Reducing Bush Spigot/Socket |

|
| PVC Female Adapter (878) |

|
| PVC Reducing Bush Spigot/Thread |
|
| PVC Reducing Bush Male/Female Thread NPT |

|
| PVC Male Adapter NPT |
.jpg?width=80&name=PVC%20Male%20Adapter%20(836).jpg)
|
| PVC Reducing Socket |

|
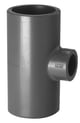
| PVC Reducing Tee |

|
| PVC Spigot Hosetail Adapter |

|
| PVC Hosetail Adapter Male BSP |

|
| PVC Hosetail Adapter Female |

|
| PVC Fixed Ring Flange |

|
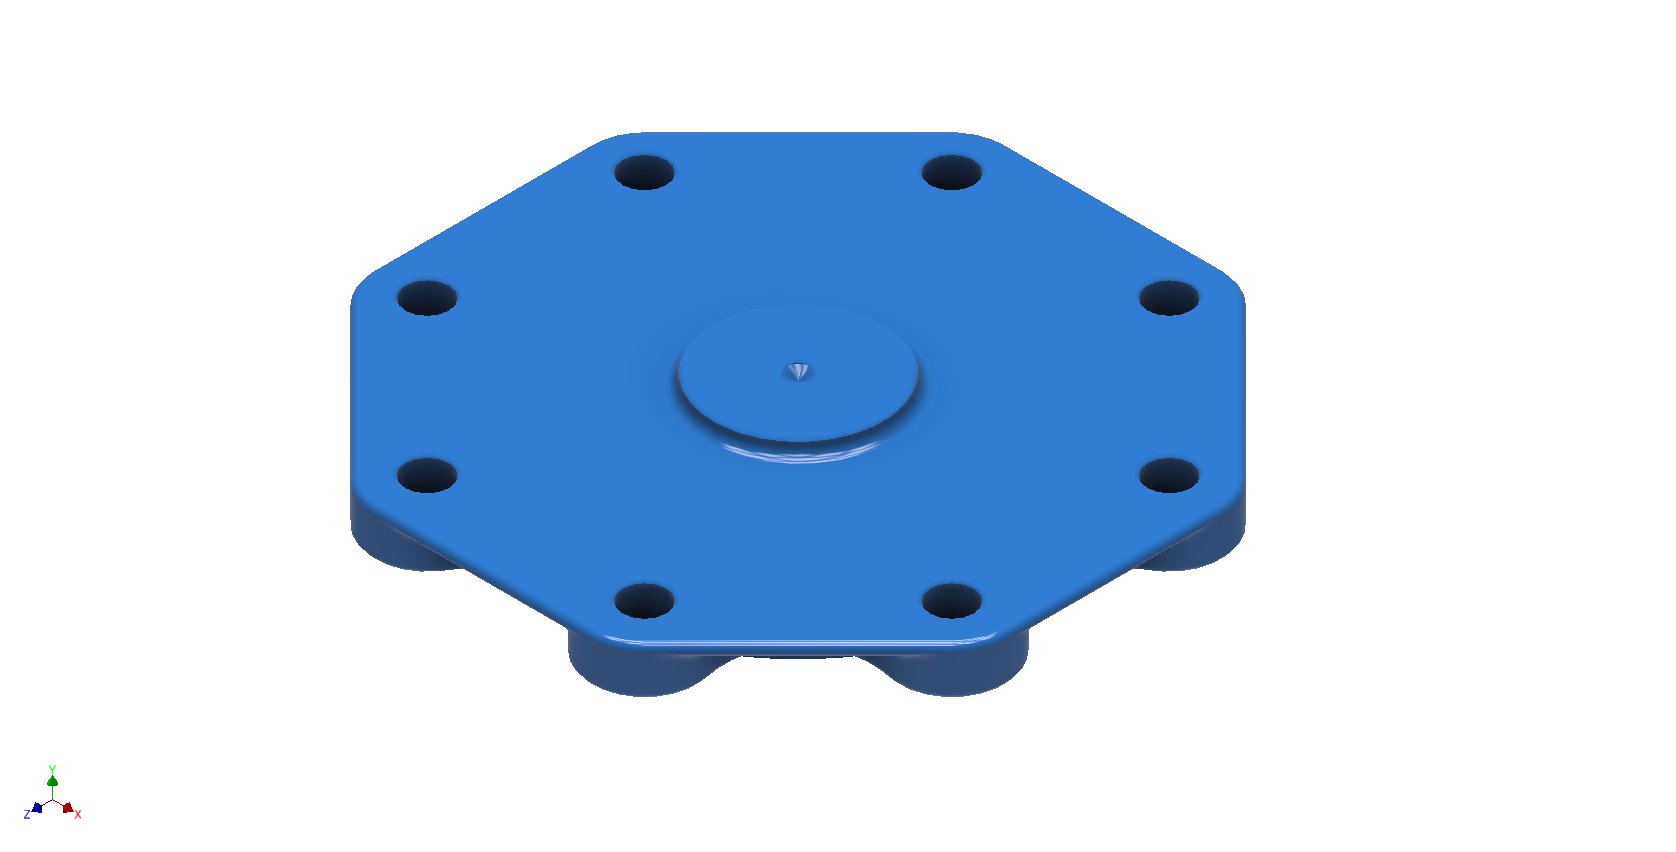
| PVC Blind Flange |

|
| PVC Plain/Threaded Nipples BSP |

|
| PVC Hex Nipples BSP |

|
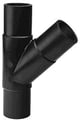
| PVC Female Wye |
|
| PVC Tank Adapter |

|
| Bend 90° |

|
| Elbow 90° |

|
| Elbow 45° |
|
| Socket |

|
| Cap |

|
| Adaptor Barrel Nipple |

|
| Adaptor Reducing Bush |

|
| Tee 90° |

|
| Tee 45° |

|
| Reducing Tee |
|
| Reducing Bush |

|
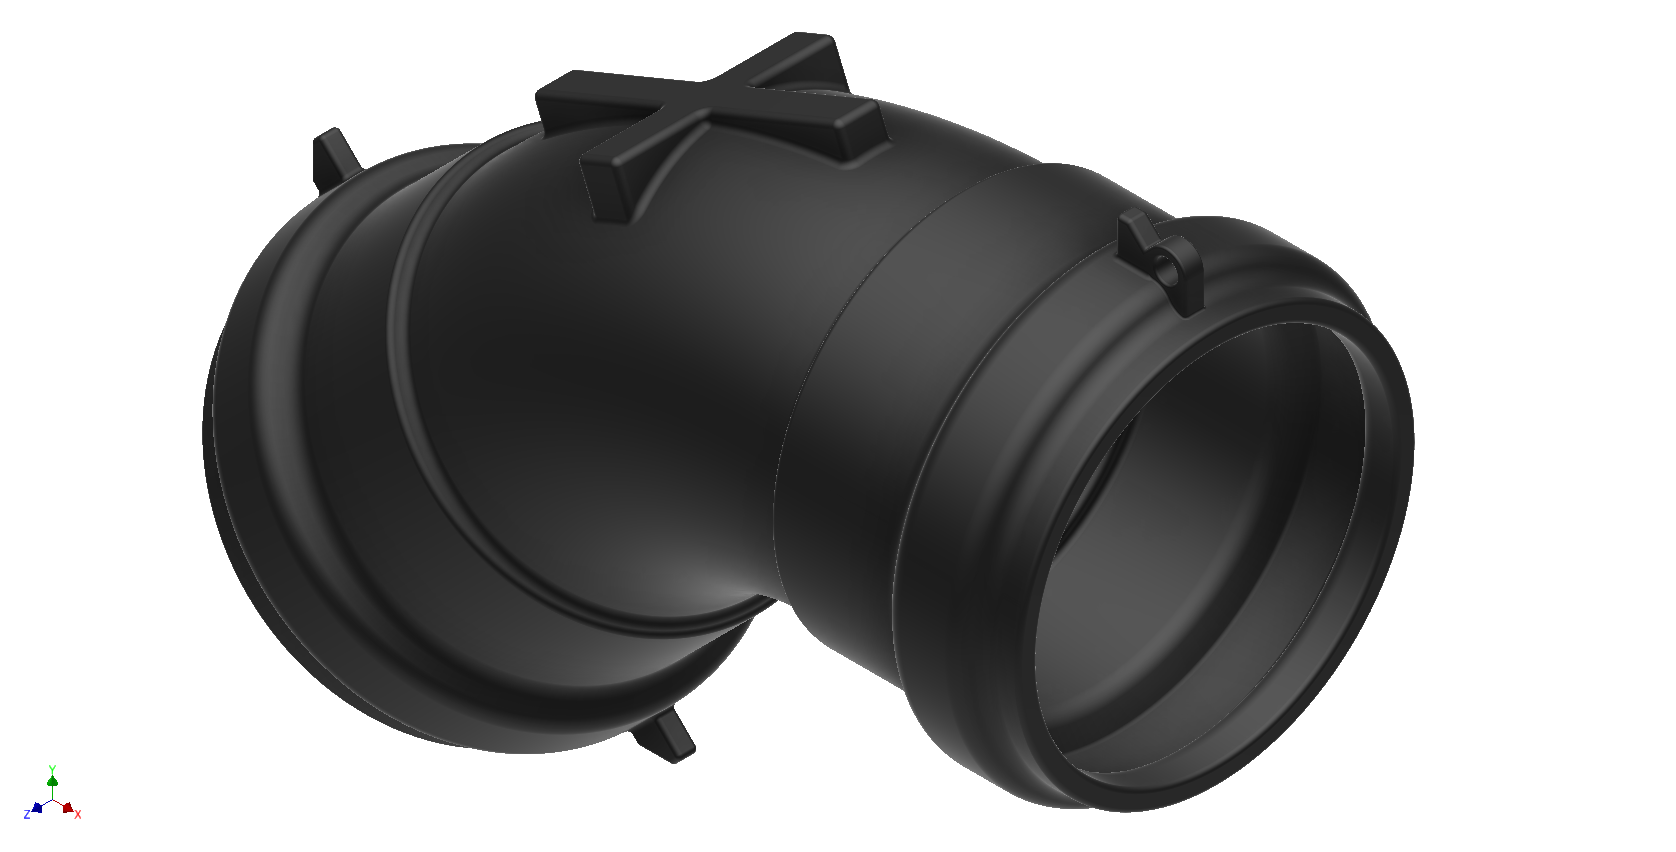
| Cross |

|
| Socket Union |

|
| Adaptor Union Female ABS/SS |

|
| Adaptor Union Male ABS/SS |

|
| Hose Connector |

|
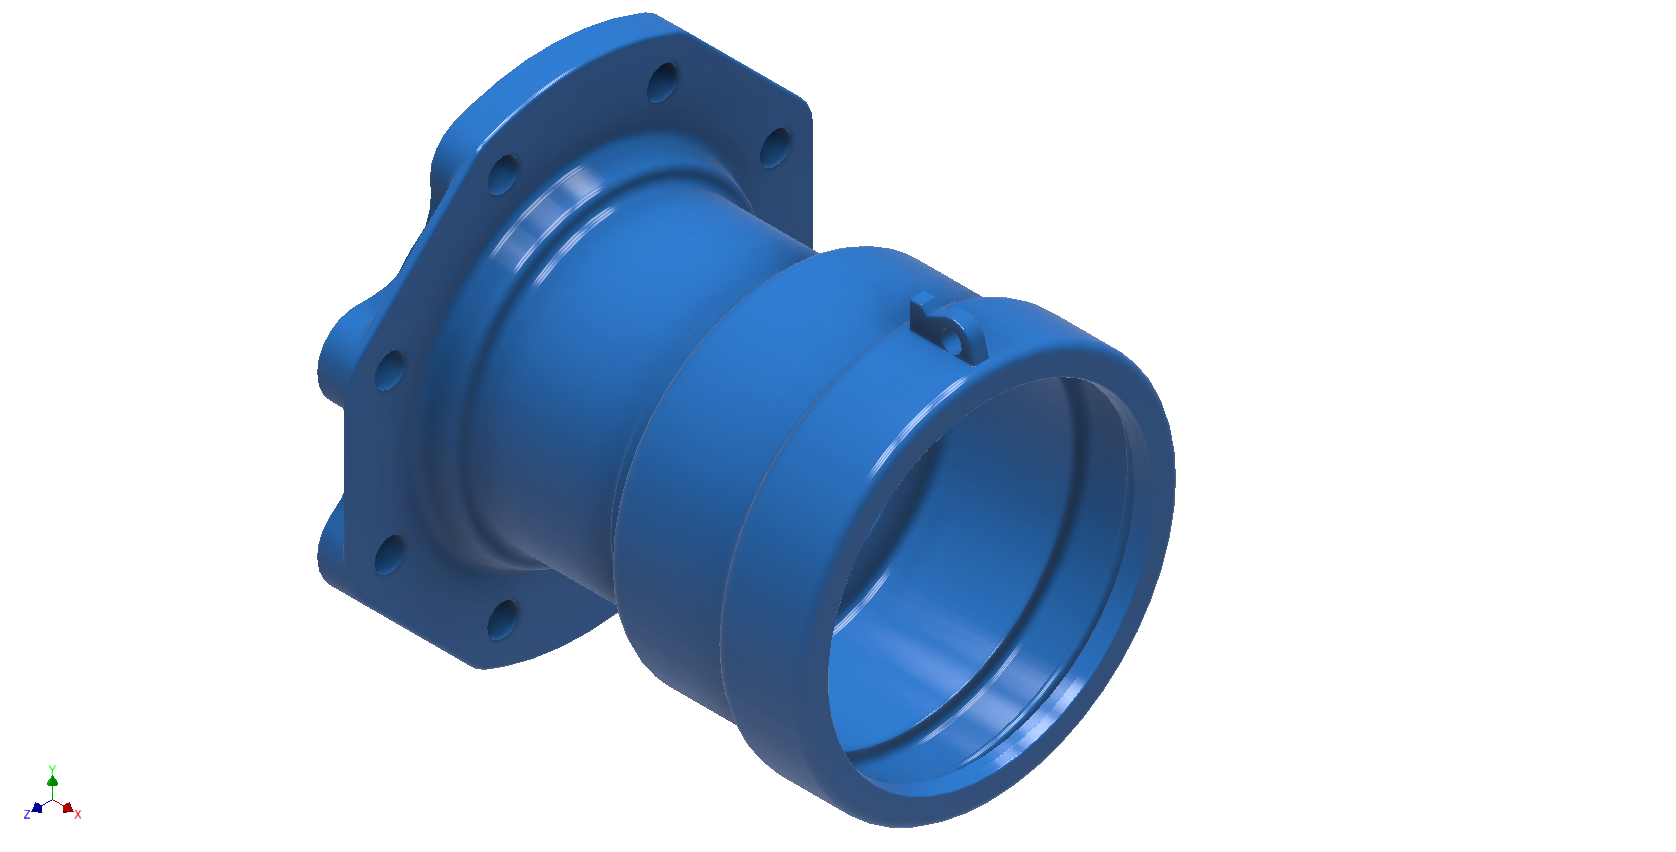
| Flange Adaptor |

|
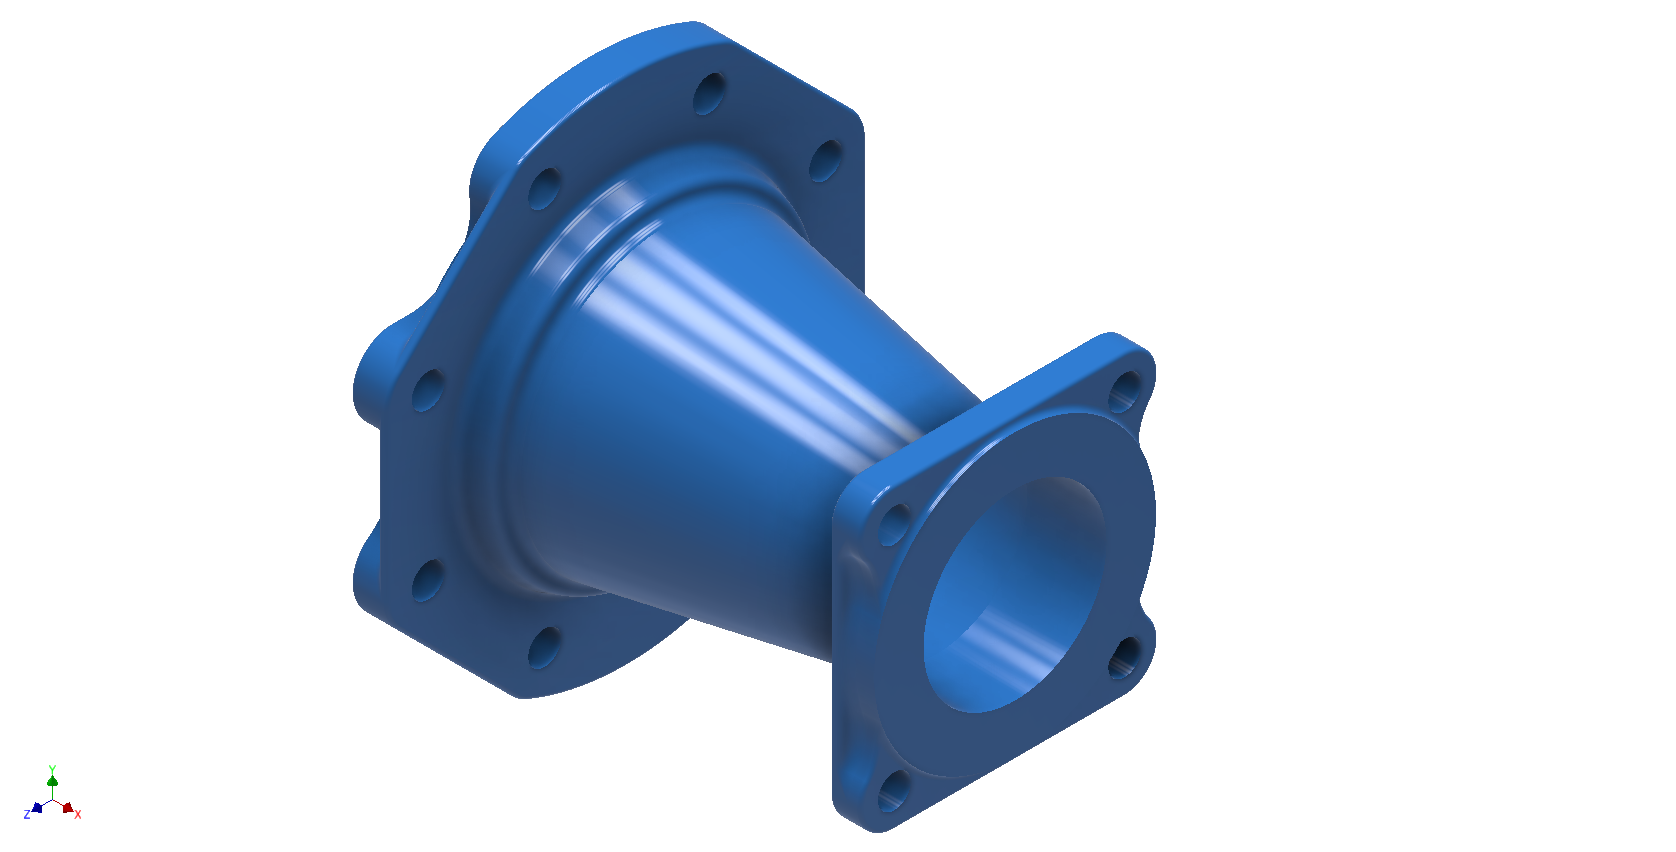
| Elbow 90° Adaptor |

|
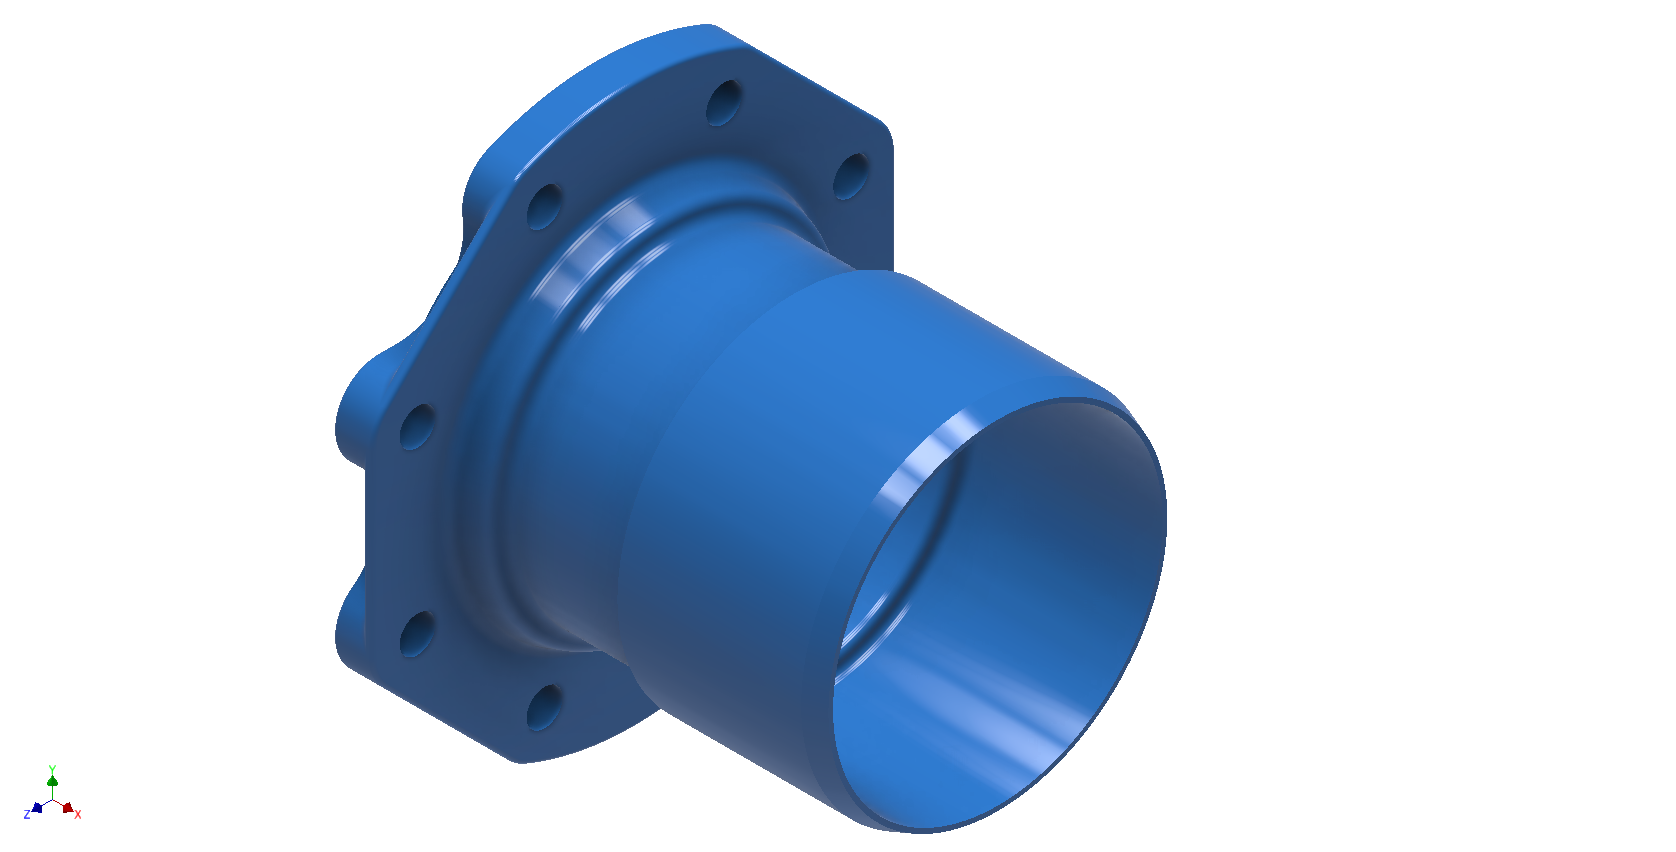
| Socket Adaptor |

|
| Female Adaptor |

|
| Male Adaptor Spigot |

|
| Male Adaptor Socket |

|
| Pipe Clips |

|
| Pipe Clips |
|
| ABS Solvent Cement |

|
| Solvent Cement |

|
| ABS MEK Primer |
|
| MEK Primer |
|
| ABS Metric Pipe |

|
| Class C PN9 Pipe |

|
| Class D PN12 Pipe |
|
| PN10 Pipe |
|
| Class E PN15 Pipe |
|
| Elbow 90° |

|
| Elbow 45° |

|
| Elbow 90° Plain-Threaded |

|
| Tee |

|
| Socket Plain |

|
| Bend 90° Socket End |

|
| Plain Cap |

|
| Plug |

|
| Stub Flange |

|
| Male Composite Union |

|
| Hexagon Nipple Plain-Threaded |

|
| Hexagon Nipple Threaded |

|
| Barrel Nipple |

|
| Socket Union |

|
| Hose Tails & Barbs |

|
| Galv Backing Ring BS4504 PN16 |

|
| Full Face Flange Drilled ANSI 150 |

|
| Reducing Socket |

|
| Reducing Bush Plain |

|
| Socket Plain-Threaded |

|
| Socket With Steel Band |
|
| Wye Piece Female |
|
| Female Adaptor |

|
| Male Adaptor |

|
| Galv Backing Ring Table E |
|
| Galv Backing Ring ANSI 150 |

|
| Full Face Flange Undrilled |

|
| Full Face Flange Drilled Table D/E |
|
| uPVC Pressure Pipe PN9 Class C SOE NZS |

|
| uPVC Pressure Pipe PN9 Class B SOE NZS |
|
| uPVC Pressure Pipe PN12 Class D SOE NZS |
|
| uPVC Pressure Pipe PN15 Class E SOE NZS |
|
| uPVC Faucet Socket Female Threaded NZS |
|
| uPVC Valve Socket Male Threaded NZS |

|
| uPVC Socket Coupler Plain NZS |
|
| uPVC Elbow 90° Plain NZS |
|
| uPVC Tee Plain NZS |
|
| uPVC Cap Plain End NZS |
|
| uPVC Cap Threaded |
|
| uPVC Elbow 45° Plain NZS |
|
| uPVC Reducing Tee Plain NZS |
|
| uPVC Reducing Socket Plain (NZS) |
|
| uPVC Socket Union NZS |
|
| uPVC Compression Coupler 150 PSI |

|
| uPVC Spigot Hose Adaptor |

|
| uPVC Plug Threaded NZS |

|
| PVC IMP/MET Adaptor Bush |

|
| uPVC FIP BSP Threaded Reducing Bush Parallel |

|
| uPVC Reducing Bush NZS |
|
| uPVC Tee Faucet NZS |

|
| uPVC Tee Reducing NZS |

|
| uPVC Elbow 90° Faucet NZS |
|
| uPVC Universal Van Stone Flange |

|
| uPVC Stub Flange (NZS) |
|
| CPVC Schedule 80 Flange Plain ANSI 150 (9851) |
|
| CPVC Schedule 80 Van Stone Flange ANSI 150 (9854) |
|
| CPVC Schedule 80 Spigot Van Stone Flange ANSI 150 |
|
| CPVC Schedule 80 Flange Blank ANSI 150 (9853) |
|
| CPVC Schedule 80 Female Adaptor NPT (9878) |
|
| CPVC Schedule 80 Male Adaptor NPT (9836) |

|
| CPVC Schedule 80 Plug NPT (9850) |

|
| CPVC Hosetail NPT |

|
| CPVC Schedule 80 Reducing Bush Plain (9837) |
|
| CPVC Schedule 80 Reducing Bush Plain / Threaded NPT (9838) |
|
| CPVC Schedule 80 Reducing Bush NPT (9839) |

|
| CPVC Schedule 80 Reducing Socket (9829) |

|
| CPVC Schedule 80 Nipple Plain / Threaded BSP Machined |

|
| CPVC Schedule 80 Tank Adaptor FPM |

|
| CPVC Schedule 80 Plain Tee (9801) |

|
| CPVC Schedule 80 Elbow 90° Plain (9806) |

|
| CPVC Schedule 80 Elbow 45° Plain (9817) |

|
| CPVC Schedule 80 Sweep 90° Bend |

|
| CPVC Pipe Clips |
|
| Electrofusion Coupler PN16 SDR 11 |

|
| Electrofusion Coupler PN25 SDR 7.4 |

|
| Electrofusion Coupler PN10 SDR 17 |

|
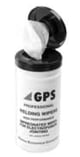
| IPA Wipes & Cleaner |
|
| Electrofusion 90° Equal Tee PN16 SDR 11 |

|
| Electrofusion 90° Reducing Tee PN16 SDR 11 |

|
| Electrofusion Reducing Coupler PN16 SDR 11 |

|
| Electrofusion End Cap Coupler PN16 SDR 11 |

|
| Electrofusion Elbow 45° PN16 SDR11 |

|
| Electrofusion Elbow 22° PN16 SDR11 |

|
| Electrofusion Elbow 90° PN16 SDR11 |

|
| PE Bend 88° |

|
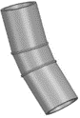
| PE Bend 45° |

|
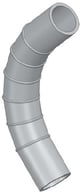
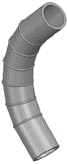
| PE 90° Bend Long Spigot |

|
| PE 90° Segmented Bend |

|
| PE Stub Flange |

|
| PE Equal Tee |
|
| PE Reducing Tee |
|
| PE 88.5° Swept Tee |

|
| PE Access Pipe with Screw Cap 88° |
|
| PE Access Pipe with Oval Cover |

|
| PE 4 Way Riser |

|
| PE Wye Junction 45° |

|
| PE Reducing Wye Junction |

|
| PE 45° Double Branch |

|
| PE Eccentric Reducer |

|
| PE Long Spigot Eccentric Reducer |
|
| PE Male Threaded Adaptor |

|
| PE Female Threaded Adaptor |

|
| PE Pan Connector |

|
| PE Screwed End Cap |

|
| PE Long Spigot Screwed End Cap |
|
| PE P Trap |

|
| PE P Trap - Short Fixed |

|
| PE P Trap - Long Fixed |

|
| PE P Trap Short Adjustable |

|
| PE Sovent Ventilation Branch |
|
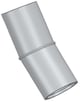
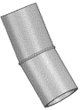
| PE Expansion Joint |

|
| PE Ring Seal Adaptor |

|
| SDR 11 Electrofusion Couplers |

|
| Electrofusion 90° Elbows |

|
| Electrofusion Adaptable Elbows |

|
| Electrofusion Reducing Couplers |

|
| Long Spigot End Caps |

|
| Long Spigot Reducers |

|
| Spigot PE Transition Adaptor PN16 SDR11 |

|
| Long Spigot Stub Flanges |

|
| Tapper Swivel Tee Metric PE |

|
| Electrofusion Tees |

|
| Full Bore Polyvalves |

|
| Full Bore Polyvalves |

|
| Compression Tapping Saddles |

|
| Tapping Saddles Tools |

|
| Electrofusion Saddles Fixed 110mm 45° Off Take |

|
| Electrofusion Flex Restraints |

|
| Reduced Bore Polyvalves |

|
| Electrofusion Adjustable Elbow 2 Couplers PN16 SDR11 |

|
| Electrofusion Tapping Saddle Underclamp PN16 SDR11 |

|
| Electrofusion Branch Saddle Underclamp Spigot Off Take |

|
| Topload Branch Saddles Spigot Off Take SDR11 |

|
| Topload Branch Saddles BSP Brass Female Off Take SDR11 |

|
| Electrofusion Saddles Fixed 225mm 90° Off Take |
|
| Electrofusion Saddles Adjustable 160mm Off Take |

|
| Electrofusion Brass Transition Coupling Male BSP Outlet PN16 SDR11 |

|
| Electrofusion Brass Transition Coupling Female BSP Outlet PN16 SDR11 |

|
| Electrofusion Adjustable Elbow 1 Sided Coupler/Spigot |

|
| Electrofusion Stainless Steel Transition Adaptors |
|
| Transition Adaptor Female Brass Spigot |

|
| Standard Slim Flanges |

|
| Long Spigot 45° Elbows |

|
| Transition Adaptor Male Brass Spigot |

|
| True-Slim Full Face Flanges |
|
| SDR17 Long Spigot Stub Flanges |

|
| Long Spigot 90° Elbows |

|
| Long Spigot Reducers |

|
| Long Spigot Tees |
|
| Long Spigot Hydrants Tees |

|
| Long Spigot End Caps |
|
| Long Spigot Reducing Tees |
|
| SDR11 Butt Weld Stub Flanges |

|
| SDR11 Butt Weld Tees |
|
| SDR11 Butt Weld Reducers |
|
| Angle Branch Wye |
|
| Adaptor Socket |

|
| Adaptor Nipple |

|
| Hose Connector |

|
| Socket Union |

|
| PVC-U Met Socket Unions EPDM |

|
| PVC-U Met Socket Unions FPM |
|
| PVC-U Met PN16 Tee 90º |
|
| PVC-U Met PN16 Elbow 90º |

|
| Pro-fit System Elbow 90° |

|
| Pro-fit System Unions FPM |

|
| PVC-U Met Adaptor Socket |

|
| PVC-U Met Male Adaptor |

|
| PVC-U Met Female Adaptor |

|
| PVC-U Met Reducing Bush Plain/Threaded |

|
| PVC-U Met Adaptor Socket-Nipple |
|
| PVC-U Met PN10 Adaptor Nipple |

|
| Pro-fit System Elbow 45° |

|
| Pro-fit System Tee 90° |
|
| Pro-fit System Unions EPDM |
|
| Pro-fit System Reducing Long Bush |

|
| PVC-U Met PN16 Elbow 45º |

|
| PVC-U Met Elbow 90º Plain/Threaded |

|
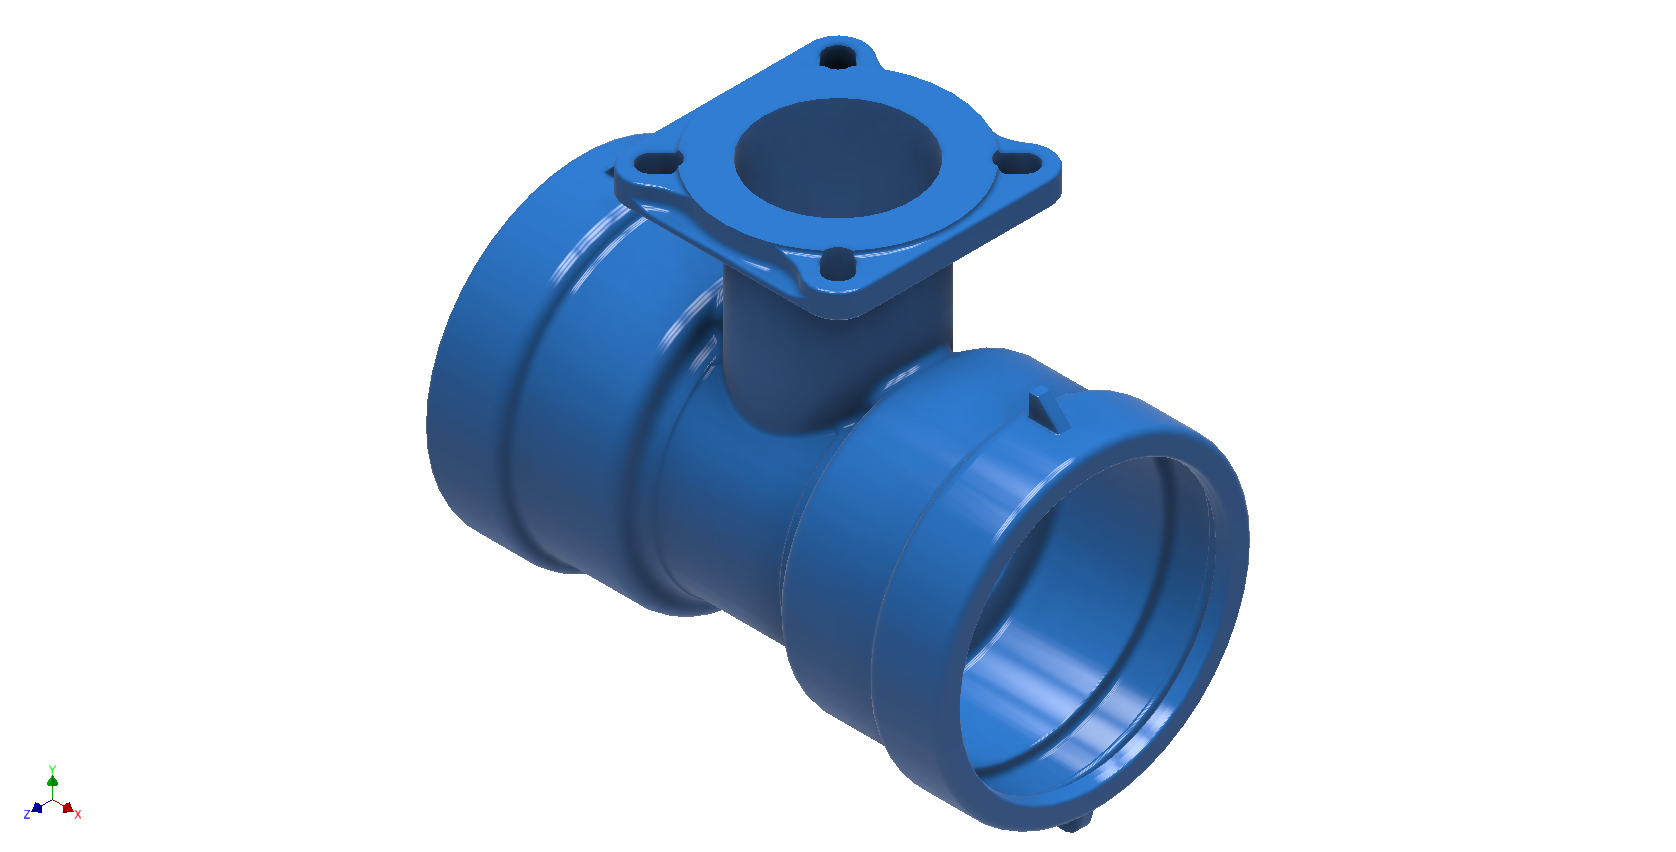
| DI Double Seal Socket Bends |
|
| DI Nylon - S1 Socket Bends |
|
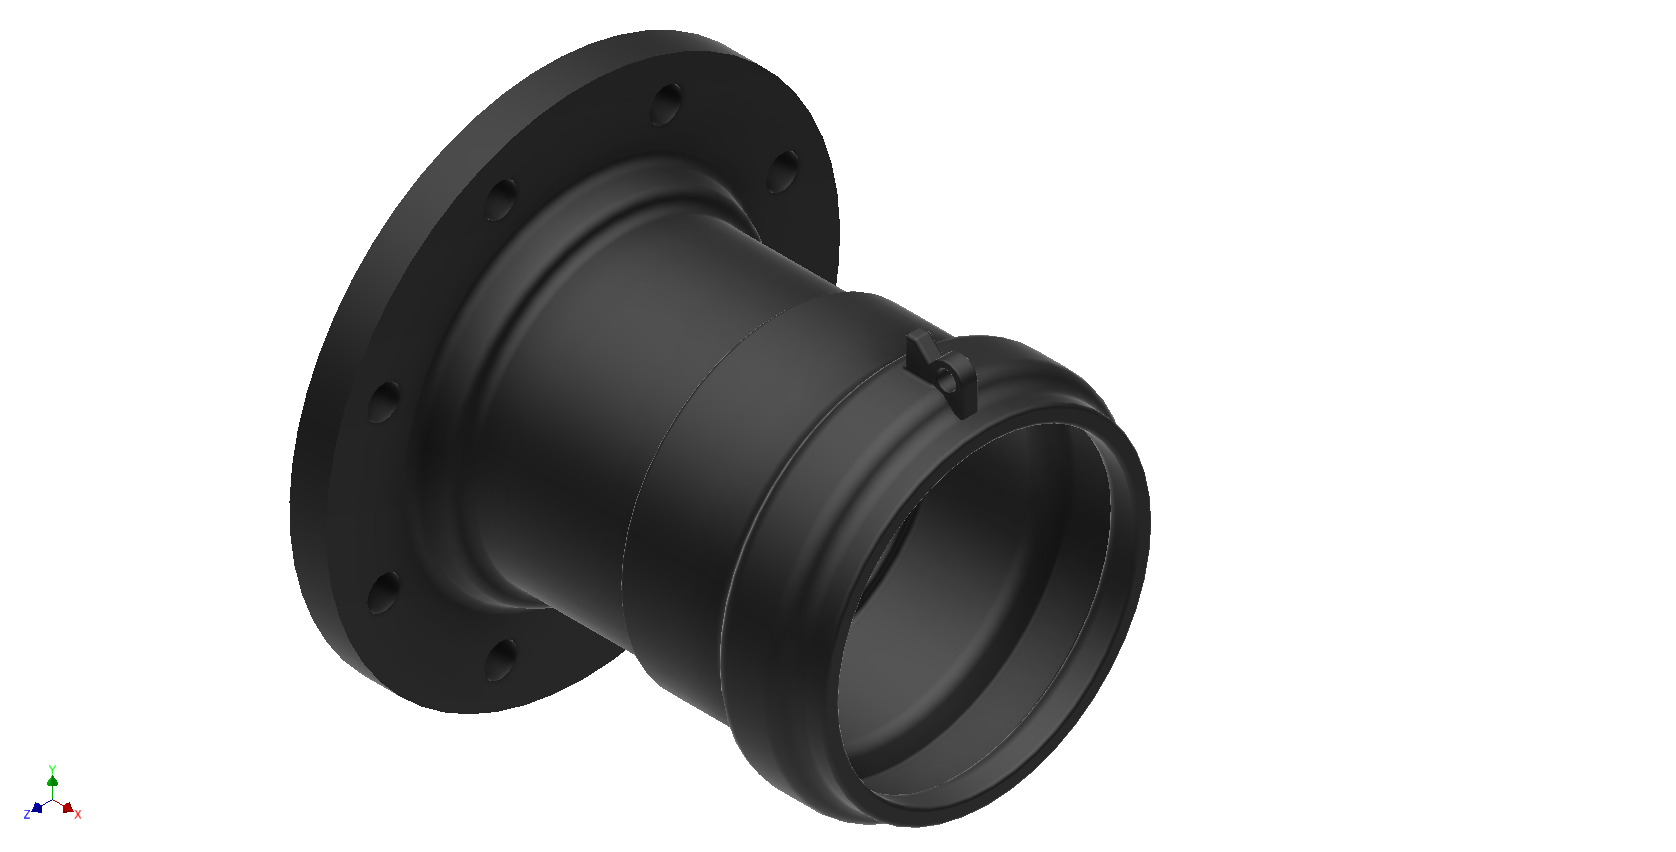
| DI Bitumen - S1 Socket Bends |
|
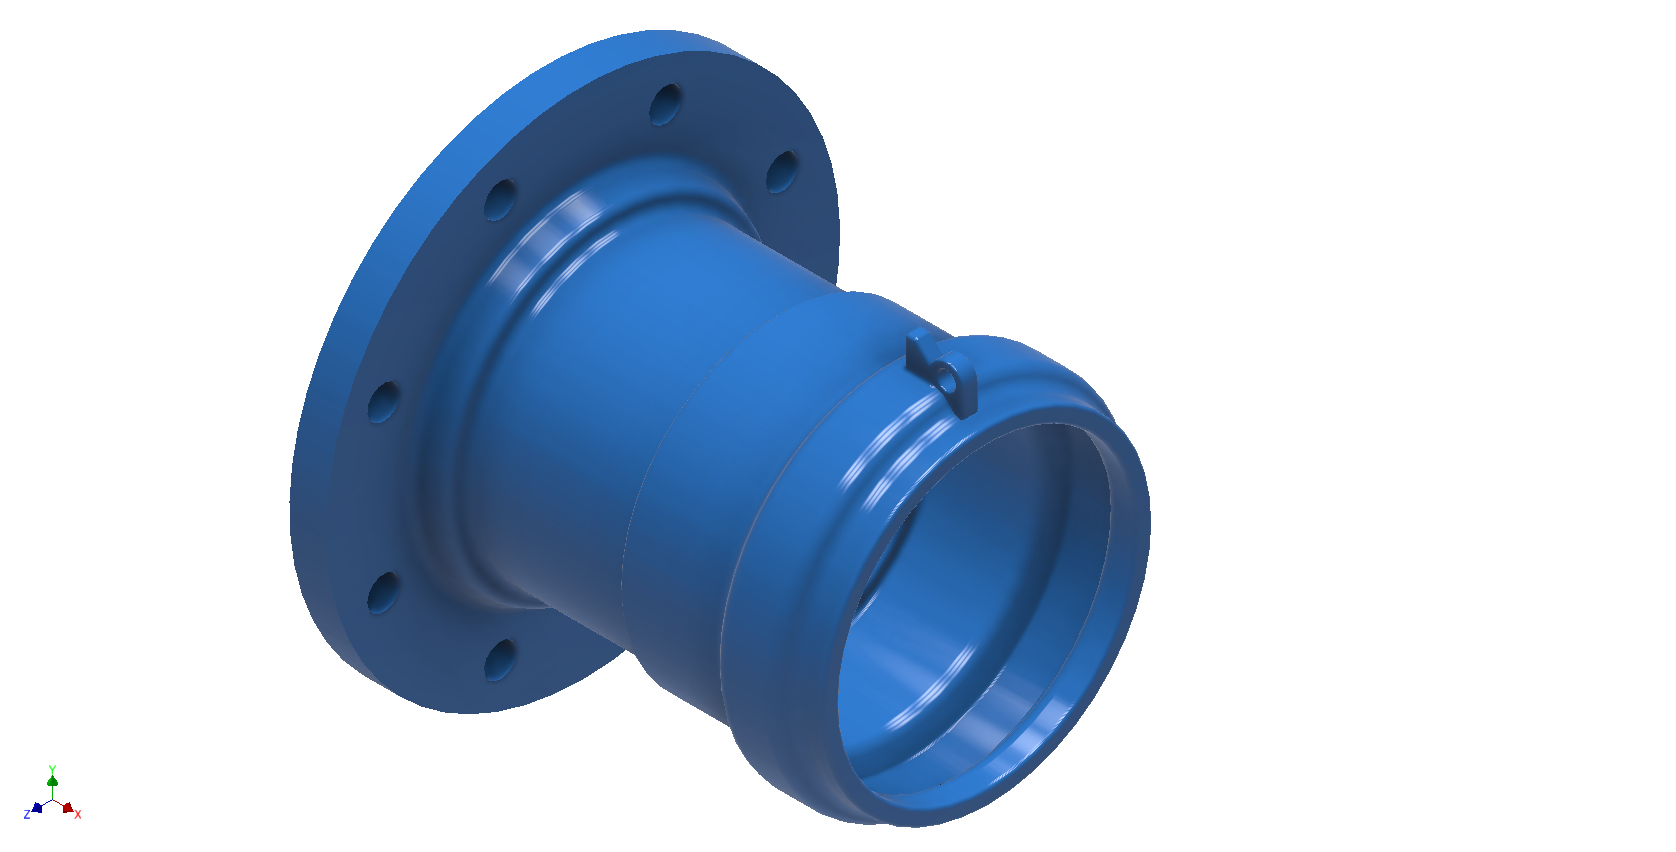
| DI Nylon - Double Seal Socket Flange Adaptor |
|
| DI Nylon - Flange Spigot Adaptor |
|
| DI Nylon - Flanged Reducer |
|
| DI Nylon - Double Seal Socket Branch Flanged Tee |
|
| DI Nylon - Flange S1 Socket Adaptor |
|
| DI Bitumen - Flange S1 Socket Adaptor |
|
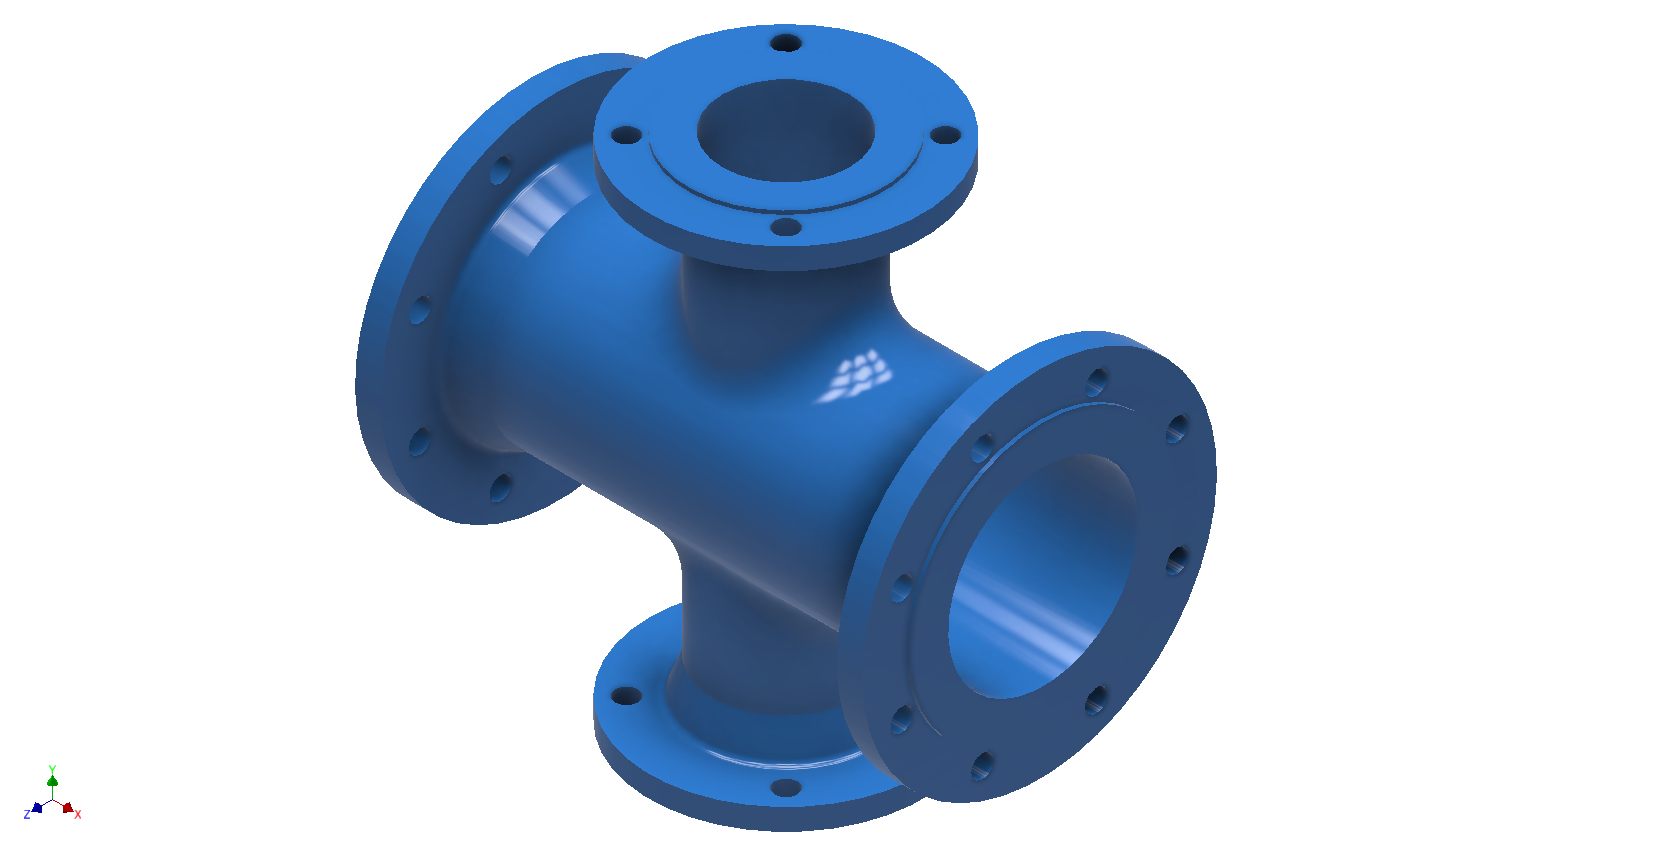
| DI Nylon - Flanged Cross |
|
| DI Nylon - Pipe Straight with Puddle Flange at Centre |
|
| DI Nylon - S1 Socket Branch Flanged Tee |
|
| DI Nylon - Flanged Bends |

|
| DI Nylon - Pipe Straight |
|
| DI Nylon - Spigot Branch Flanged Tee |
|
| DI Bitumen - S1 Socket Branch Flanged Tee |
|
| DI Nylon - Flanged Tee |
|
| DI Nylon - Blank Flange |
|
| DI Nylon - Blank Flange Tapped |

|
| DI Nylon - Hydrant Riser |
|
| Vulcathene Pipe |

|
| Vulcathene 92½° Bend |

|
| Vulcathene 92½° Loose Nut bend |
|
| Vulcathene 135° Loose Nut bend |

|
| Vulcathene 135° Bend |

|
| Vulcathene U Bend |

|
| Vulcathene 92½° Equal Sweep Tee |

|
| Vulcathene 92½° Reduced Branch Tee |
|
| Vulcathene 45° Single Wye |

|
| Vulcathene 45° Double Wye |

|
| Vulcathene Pipe Coupler |

|
| Vulcathene Reducing Coupler/Adaptor |

|
| Vulcathene MI to Pipe Coupler |

|
| Vulcathene FI to Pipe Coupler |
|
| Vulcathene 2½” FI to Pipe Coupler |
|
| Vulcathene 1¼” FI to 1½” MI BSP Reducer |
|
| Vulcathene Beaded Glass Adaptor |

|
| Vulcathene Thermal Stress Relief Unit |

|
| Vulcathene Access Pipe (Spigot Ends) |
|
| Vulcathene BS Table D Flange |

|
| Vulcathene Dilution Recovery Trap 4.5 litre |
|
| Vulcathene Anti-Siphon Bottle Trap |

|
| Vulcathene Clay Trap |

|
| +GF+ Signet 515 Rotor-X Paddlewheel |

|
| +GF+ Signet 2536 Rotor-X Paddlewheel |
|
| PVC Spigot Hosetail |

|
| Saddle Clips |

|
| uPVC Galv Backing Ring Table E |
|
| CPVC Schedule 80 Socket Plain (9829) |

|
| CPVC Schedule 80 Socket Plain/Threaded NPT (9835) |
|
| CPVC Schedule 80 Socket Plain (9829) |

|
| CPVC Schedule 80 Plain Cap (9847) |

|
| uPVC Schedule 40 Pipe |

|
| uPVC PN16 Clear Pipe |
|
| uPVC PN16 Pipe |

|
| Full Bore Polyvalves - Full Port |

|
| Reduced Bore Polyvalves - Reduced Port |
|
| PPH Pipe Pipe SDR11 PN10 |

|
| PPH Plain Socket |

|
| PPH Equal Tee |

|
| PPH Plain Cap |

|
| PPH Elbow 90º |

|
| PPH Elbow 90º Plain/Threaded |

|
| PPH Elbow 45º |

|
| PPH Reducing Bush |

|
| PPH Socket Union EPDM |

|
| PPH Socket Union FPM |
|
| PPH Infrared Socket Union EPDM |

|
| PPH Infrared Socket Union FPM |
|
| PPH Reducing Bush Plain/ ThreadedReducing Bush Plain/ Threaded |

|
| PPH Adaptor Nipple Plain/ Threaded |

|
| PPH Stub Flange |
|
| PPH Adaptor Socket Plain/ Threaded |

|
| PPH Equal Tee Threaded Branch |
|
| PPH Hosetail S/F Spigot - Barb |

|
| PPH Elbow 90º Infrared |
|
| PPH Infrared Elbow 45º |
|
| PPH Infrared Reducer |

|
| PPH Infrared Equal Tee |
|
| PPH Infrared Stub Flange |
|
| PPH Infrared Cap |

|
| PPH Infrared Adaptor Socket Plain/Threaded |

|
| PPH Infrared Adaptor Nipple Plain/Threaded |

|
| PVDF Pipe PN16 |
|
| PVDF 90º Bend |

|
| PVDF 45º Elbow |

|
| PVDF 90º Elbow |

|
| PVDF Equal Tee |
|
| PVDF Socket Union FPM |

|
| PVDF Stub Flange DIN |

|
| PVDF Stub Flange ANSI |
|
| PVDF Reducer |

|
| PVDF Female Adaptor Fittings BSP |

|
| PVDF PVDF Male Adaptor Fittings BSP |

|
| PFA Tube |

|
| PFA Male Adaptor |

|
| PFA Female Adaptor |

|
| PFA Straight Union |

|
| PFA Male Elbow |

|
| PFA Female Elbow |

|
| PFA Union Elbow |

|
| PFA Union Tee |

|
| PFA Tooling |

|
| PVC Double Union VE Ball Valve BSP Ends |

|
| PVC Double Union VE Ball Valve Socketed Ends |
|
| Socket Valve End |
|
| BSP Valve End |
|
| FK Butterfly Lugged Lever Handle |

|
| Spears PVC Swing Check Valve White |

|
| Spears PVC Spring Check Valve White |
|
| Philmac Spring Check Valve |

|
| Philmac Ball Valve |

|
| PP GF061H Pipe Clip ISO/DIN 546 |
|
| PP GF061H Pipe Clip BS/ASTM GF546 |
|
| Cobra Pipe Clip |

|
| PP GF061 Spacer |
|
| PP GF Pipe Clip Double Bolt - Metric |

|
| PP GF Pipe Clip Double Bolt Imperial |
|
| ABS Pipe Clip Saddle PP |

|
| PTFE Coated EPDM Gasket FF ANSI |

|
| PTFE Coated EPDM Gasket FF ISO/DIN |
|
| RUB Brass Spring Check Valve |

|
| RUB Brass Swing Check Valve |

|
| Stainless Steel Swing Check Valve |

|
| Non Return Valve, Dual Disc |

|
| Non Return Valve, Single Disc |
|
| A-Check Wafer Swing Check Valve |

|
| A-Check Stainless Steel Wafer Check Dual Plate Valve |

|
| Ball Check Valve |

|
| Valmatic Swingflex Check Valve |

|
| Valmatic Surgebuster Check Valve |

|
| Valmatic Silent Check Valve |

|
| Kitz Wafer Butterfly Valve |

|
| Kitz Lugged Butterfly Valve |

|
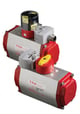
| Pneumatic Actuators |

|
| Pneumatic Proximity Sensor |
|
| Pneumatic Positioner |

|
| Valmatic ABF Butterfly Valve |

|
| Valmatic - Camcentric Plug Valve |

|
| Brass Gate Valve |

|
| Kitz DZR Brass Gate Valves BSP Ends |

|
| Stainless Steel Gate Valves |

|
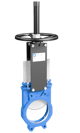
| CMO Stainless Steel Knife Gate Valve |
|
| CPVC Hi-Temp Schedule 80 Pipe |

|
| RUB S.50 Brass Ball Valve Long Pattern |

|
| Brass Bib Cock |

|
| Stainless Steel Full Bore Ball Valve with Mounting Pad |

|
| A-Ball Stainless Steel 3 Way Ball Valve L-T Port |

|
| PVC-U Met PN16 Socket |

|
| PVC-U Met PN16 Bend 90º |

|
| PVC-U Met PN16 Reducing Bush Short |
|
| PN16 Tank Adaptors with Union EPDM |

|
| PVC-U Met PN16 Tee 90º Reducing |
|
| PVC-U Met Stub Flange |
|
| PVC-U Met End Cap |

|
| PVC-U Met PN10 Plug Taper |

|
| Full Face Flange ISO/DIN Bolt Pattern |

|
| PVC-U Met Spigot Hosetail Parallel Hose Barb |

|
| PVC-U Met PN10 Wye |

|
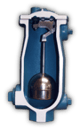
| Valmatic Water Air Release Valve |

|
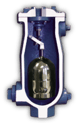
| Valmatic Water Air Vacuum Valve |

|
| Valmatic Water Combination Air Valve |

|
| PVC-U Met PN16 Tee Plain/Threaded |

|
| Check Valve Dual Plate |

|
| YC, IFC - Carbon Steel Y Strainer |

|
| PPH S/F Adaptor Socket |

|
| PPH Tank Adaptor Metric Socket |

|
| PPH Tank Adaptor Threaded |
|
| PPH Nipple Plain/Threaded |
|
| Metso Neles RA Series Segmented Ball Valve |

|
| EA546 EA25 - 230 Volt |

|
| EA546 EA15 - 24 Volt (AC or DC) |
|
| EA543 EA25 - 230 Volt |

|
| EA567 EA45/120/250 - 230 Volt |
|
| EA546 EA15 - 230 Volt |
|
| EA546 EA45/120 - 230 Volt |
|
| EA546 EA25 - 24 Volt (AC or DC) |
|
| EA546 EA45/120 - 24 Volt (AC or DC) |
|
| EA543 EA25 - 24 Volt (AC or DC) |
|
| EA567 EA45/120/250 - 24 Volt (AC or DC) |
|
| PA546 Standard Pneumatic Actuator Assembly |

|
| PA567 Standard Pneumatic Actuator Assembly |

|
| Fire Hydrants |
|
| Switch Kits |
|
| Kitz Bronze Globe Valve Screwed Bonnet |
|
| Kitz Bronze Globe Valve Union Bonnet |

|
| Stainless Steel Globe Valve |

|
| Stainless Steel Needle Valve |
|
| Stainless Steel In-line Spring Check Valve |

|
| Kitz, MACK - Bronze Y Strainers Screwed BSP |

|
| Modentic, MACK - Stainless Steel Y Strainers Screwed BSP |

|
| VYC Relief Valves Model 095 PTFE Seal & Lever |
|
| VYC Relief Valves Model 095 PTFE Seal & Cap |

|
| RUB S.51 Brass Ball Valve Long Pattern |

|
| Single Water Motor Alarm Gong Globe type |

|
| Mech OS&Y Resilient Seated Gate Valve Flanged Table E |

|
| HVAC Luxor Flexible Hoses |

|
| AVK Wafer Butterfly Valve |
|
| AVK Lugged Butterfly Valve |
|
| +GF+ Signet 2551 Insertion Magmeter |

|
| +GF+ Signet 2552 Insertion Magmeter |

|
| IPS P68 Clear Primer |

|
| IPS P70 Purple Primer |

|
| IPS 724 PVC & CPVC Heavy Body Solvent Cement |

|
| IPS 719 PVC Extra Heavy Body Solvent Cement |

|
| IPS 711 PVC Heavy Body Solvent Cement |

|
| IPS 700 PVC Clear Regular Bodied Solvent Cement |

|
| IPS 705 PVC Medium Bodied Solvent Cement |

|
| IPS 725 Wet & Dry PVC Solvent Cement |

|
| IPS 735 Wet'N Fast PVC Extremely Setting Fast Solvent Cement |

|
| IPS 747 Pool & Spa Cement |

|
| IPS 810 Repair Kit |

|
| IPS White Seal PTFE Pipe Jointing Compound |

|
| PTFE Thread Tape |

|
| Weld-On Roller |

|
| Cap Dauber |

|
| Super Swab |

|
| Super Dauber |

|
| Pipe Cutter |
|
| Pipe Fitting Puller |
|
| Bevellers |
|
| Deburring Tool |

|
| Plasson PN16 Male End Connector |
|
| Plasson PN16 Straight Coupling |

|
| Plasson PN16 90° Elbow |

|
| Plasson PN16 Repair Coupling |
|
| Plasson PN16 Plasson PN16 90° Elbow Female |

|
| Plasson PN16 Reducing Coupling |

|
| Plasson PN16 Tee |

|
| Plasson PN16 Plasson PN16 90° Elbow Male |

|
| Plasson PN16 Reducing Tee |

|
| Plasson PN16 End Cap |
|
| Plasson PN16 Female End Connector |

|
| Larner Johnson Valves |

|
| Tapper for Series 1 PVC |

|
| Tapper for Series Metric PE PN12.5 |
|
| Tapper for Series 2 PVC |
|
| Plasson Allen Key |
|
| Mapress SS Coupling |

|
| Mapress SS Slip Coupling |

|
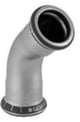
| Mapress SS 45° Bend With Plain End |
|
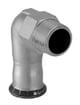
| Mapress SS 90° Bend With Plain End |

|
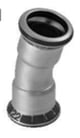
| Mapress SS Bend 15° |
|
| Mapress SS Bend 30° |

|
| Mapress SS Bend 45° |
|
| Mapress SS Bend 60° |
|
| Mapress SS Bend 90° |

|
| Mapress SS 90° Elbow Adaptor With Female Thread |

|
| Mapress SS 90° Elbow Adaptor With Female Thread And Plain End |

|
| Mapress SS 90° Elbow Adaptor With Male Thread |
|
| Mapress SS 90° Elbow Tap Connector |

|
| Mapress SS Equal Tee |

|
| Mapress SS 90° Offset Tee Elbow Tap Connector |
|
| Mapress SS Tee With Female Thread |

|
| Mapress SS Reducing Tee |

|
| Mapress SS Tee With Male Thread |

|
| Mapress SS Reducer With Plain End |

|
| Mapress SS Union |

|
| Mapress SS Adaptor UnionWith Female Thread |

|
| Mapress SS Adaptor UnionMale Thread |

|
| Mapress SS End Caps |

|
| Mapress SS Axial Expansion Fitting With Pressing Sockets |

|
| Mapress SS Adaptor Female Thread |

|
| Mapress SS Adaptor Male Thread, Plain End |

|
| Mapress SS Adaptor Male Thread, NPT |
|
| Mapress SS Adaptor With Union Nut |

|
| Mapress SS Flange PN 10/16 Plain End |

|
| Mapress SS Flange PN 10/16 With Pressing Socket |

|
| Mapress SS Flanged Stub With Plain End For Loose Flange PN 10/16 |

|
| Mapress SS Seal Ring CIIR, Black |

|
| Mapress SS Seal Ring FKM, Blue |
|
| Mapress SS Mapress Starter Kit Suitable For D15-35mm |

|
| Mapress SS Pressing Tool, In Case |

|
| Mapress SS Li-Ion Battery, 18V |
|
| Mapress SS Brunox Turbo-Spray |
|
| Mapress SS Pressing Collar Set (2), In Case |
|
| Mapress SS Pressing Collar Set (2XL), In Case |
|
| Mapress SS Pressing Collar Set |
|
| Mapress SS Adaptor Jaw (2XL) |
|
| Mapress SS Case For Pressing Jaw (2),(3) |

|
| Mapress SS Insertion Distance Template With Marker Pen |
|
| Mapress SS Pressure Test Plug |

|
| Mapress SS Pipe Cutter |
|
| Mapress SS Set Of Cutting Wheels For Pipe Cutter |
|
| Mapress 316 Stainless Steel Ball Valve With Level Handle |

|
| Mapress 316 Stainless Steel Non Return Valve CIIR/PTFE |

|
| HERZ Strainer, DZR Brass Female Thread - BSP |

|
| MECH Strainer Flanged Table E |

|
| IFC - Basket Strainers |
|
| IFC - Duplex Strainers |
|
| Herz - Orifice Plates |
|
| Stainless Steel Full Bore 3-Piece |

|
| Stainless Steel Full Bore 2-Piece |
|
| PICV Actuators |

|
| DZR Brass HVAC Differential Pressure Controller - Male Threads |

|
| DZR Brass HVAC Differential Pressure Controller - PN16 Flanged |
|
| HerzCON Unit for FanCoils |

|
| Connect 4 Unit for FanCoils |

|
| Actuators for HerzCon & Connect 4 Units |

|
| Europa Bronze Non Return Valve BSP Threads |

|
| Herz 304Stainless Steel Orifice Plate |

|
| Herz DZR Brass Strainer |

|
| Y-Strainer Table E Flanged |

|
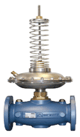
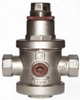
| Herz Pressure Reducing |

|
| ITAP Pressure Reducing |
|
| Flamco Flexvent |

|
| Flamco Flexvent Max |

|
| Flamco Flexvent Super |
|
| Itap Airvent |

|
| Herz Flexible Hoses |

|
| Stainless Steel Flexible Hoses |
|
| Stainless Steel Flexible Braid PN25 |
|
| Copper Tube |

|
| Copper Connector |

|
| Copper Tee Female - Female |

|
| Copper Reducing Tee Female - Female |

|
| Copper Elbow 90° Female - Female |

|
| Copper Elbow 45° Female - Female |

|
| Copper Reducer |

|
| Copper Multi Step Reducer |

|
| Copper End Cap |

|
| Copper Flange Adaptor Table E |

|
| Copper Flange Adaptor PN16 |
|
| Insulated Pipe Clamp |

|
| ERW Pipe |

|
| +GF+ Coloro 353 Union Style Socket Ends |
|
| +GF+ Coloro 353 Union Style BSP Ends |
|
| +GF+ 546 Linear Control Valve - Ball Only |

|
| +GF+ 523 Metering Valve uPVC / EPDM Seals |
|
| +GF+ 561 Ball Check PVC, EPDM Seals |

|
| +GF+ 561 Ball Check PP, EPDM Seals |
|
| +GF+ 561 Ball Check PVC, FPM Seals |
|
| +GF+ 561 Ball Check PP, FPM Seals |
|
| +GF+ 561 Ball Check ABS, EPDM Seals |
|
| +GF+ 561 Ball Check CPVC, FPM Seals |
|
| +GF+ 561 Ball Check PVDF, FPM Seals |
|
| +GF+ 543 uPVC Horizontal/ Lport EPDM Seals |

|
| +GF+ 543 uPVC Horizontal/ Tport EPDM Seals |
|
| +GF+ 543 PVC-C Horizontal/ Tport FPM Seals |
|
| +GF+ 543 PVC-C Horizontal/ Lport FPM Seals |
|
| +GF+ 543 ABS Horizontal/ Lport EPDM Seals |
|
| +GF+ 543 ABS Horizontal/ Tport EPDM Seals |
|
| +GF+ 543 PPH Horizontal/ Lport EPDM Seals |
|
| +GF+ 543 PPH Horizontal/ Tport EPDM Seals |
|
| +GF+ 543 PPH Horizontal/ Lport FPM Seals |
|
| +GF+ 543 PPH Horizontal/ Tport FPM Seals |
|
| +GF+ 591 Valve PVC / EPDM Socket and NPT Ends |

|
| +GF+ 591 Valve PPH / EPDM Socket Fusion Ends |
|
| +GF+ 591 Valve PPH / FPM Socket Fusion Ends |
|
| 303 Wye Check Valve uPVC EDPM Seals Metric Spigot ends |

|
| 305 Wye Strainer uPVC EDPM Seals Metric Spigot ends |

|
| +GF+ 582 Valve CPVC / FPM Socket ASTM |

|
| +GF+ 582 Valve PPH / FPM Socket Metric |
|
| +GF+ 586 Valve uPVC / EPDM Socket BSP |
|
| +GF+ 586 Valve uPVC / FPM Socket BSP |
|
| +GF+ 586 Valve PVDF / FPM Spigot Metric |
|
| +GF+ 582 Valve uPVC / EPDM Socket BSP |
|
| +GF+ 582 Valve uPVC / FPM Socket BSP |
|
| +GF+ 582 Valve PPH / EPDM Socket Metric |
|
| +GF+ 582 Valve PVDF/ FPM Spigot Metric |
|
| +GF+ 586 Valve CPVC / FPM Socket ASTM |
|
| +GF+ 586 Valve PPH/ FPM Socket Metric |
|
| +GF+ 586 Valve PPH/ EPDM Socket Metric |
|
| +GF+ 567 PPH EDPM Seals Wafer, Lever Operated |

|
| +GF+ 567 uPVC EPDM Seals Wafer, Lever Operated |
|
| +GF+ 567 uPVC FPM Seals Wafer, Lever Operated |
|
| +GF+ 567 PVC-C FPM Seals Wafer, Lever Operated |
|
| +GF+ 567 ABS EDPM Seals Wafer, Lever Operated |
|
| +GF+ 567 uPVC EPDM Seals Wafer, Gear Box Operated |

|
| +GF+ 568 uPVC FPM Seals Lugged ANSI Lever Operated |

|
| +GF+ 568 uPVC EPDM Seals Lugged ANSI Lever Operated |
|
| +GF+ 568 uPVC FPM Seals Lugged DIN Lever Operated |
|
| +GF+ 568 uPVC EPDM Seals Lugged DIN Lever Operated |
|
| +GF+ 514 PVC EPDM Diaphragm EDPM O-Rings Socket Union Ends ASTM |

|
| +GF+ 514 PVC PTFE/EPDM Diaphragm FPM O-Rings Socket Union Ends ASTM |
|
| +GF+ 514 PPH PTFE/EPDM Diaphragm FPM O-Rings Socket Union Ends Metric |
|
| +GF+ 514 PPH EPDM Diaphragm EPDM O-Rings Socket Union Ends Metric |
|
| +GF+ 317 uPVC EPDM Seals Flange ANSI 150 |

|
| +GF+ 317 uPVC EPDM Seals Flange ISO/DIN |
|
| +GF+ Signet Type 335 PSU With Magnet |

|
| Short Version PSU Without Magnet |
|
| +GF+ Signet Type 335 PVC Without Magnet |
|
| +GF+ Signet Type 335 PVC With Magnet |
|
| +GF+ Signet Type 335 PSU Without Magnet |
|
| +GF+ Signet Type 350 PVC Without Magnet |
|
| +GF+ Signet Type 350 PVC With Magnet |
|
| +GF+ Signet Type 350 PSU With Magnet |
|
| +GF+ Signet Type 350 PSU Without Magnet |
|
| Short Version PVC Without Magnet |
|
| Short Version PVC With Magnet |
|
| Short Version PSU With Magnet |
|
| +GF+ Signet Limit Switches for Type 335, 350 & Short Version |
|
| +GF+ Signet 525 Metalex Flow Sensor |

|
| 2537 Blind Paddlewheel Flow Sensor |

|
| +GF+ Signet 2540 Stainless Steel Flow Sensor |

|
| +GF+ Signet 9900 Flow Transmitter |
|
| 5090 Sensor Powered Flow Monitor |
|
| +GF+ Signet 8900 Multi-Parameter Instrument |
|
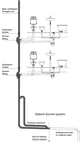
| +GF+ Signet Fittings for 515, 2536, 2537, Paddlewheels and 2551 Insertion Magmeters |
|
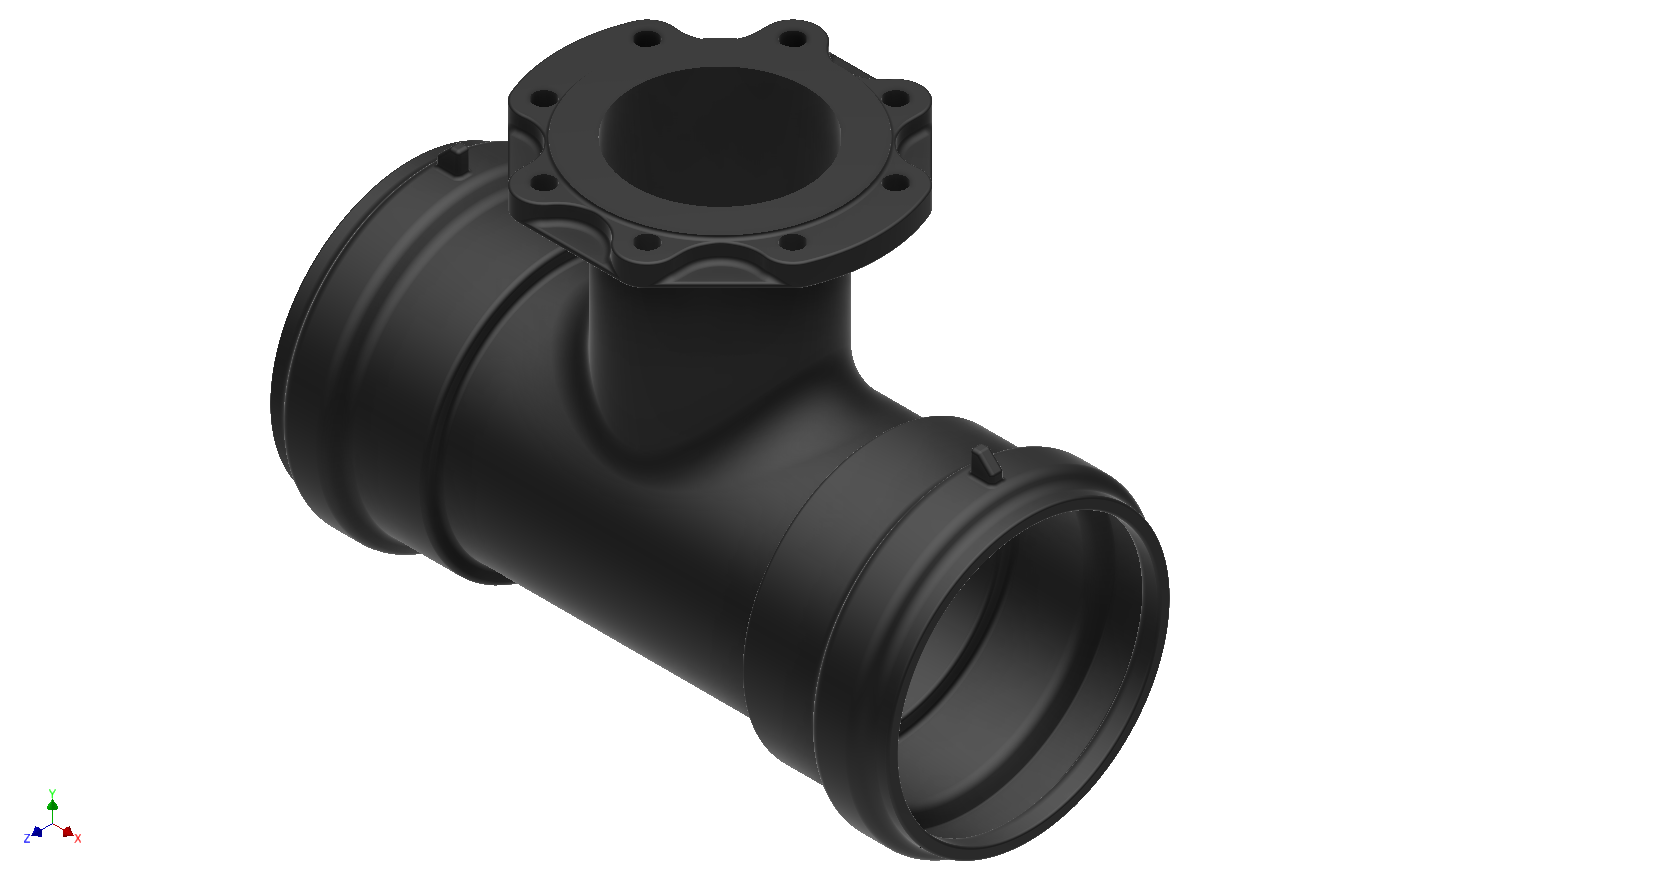
| Schedule 80 PVC Tees |

|
| PVC Clamp-On Saddles |

|
| PP Adaptor Inserts |
|
| +GF+ Signet 2724-2726 pH and ORP Electrodes |

|
| +GF+ Signet 2764-2767 Differential pH and ORP Electrodes |

|
| +GF+ Signet 2750 Sensor Electronics for Direct 4-20MA Output |
|
| +GF+ Signet 2760 Preamplifier ad Connector for Connection to Other Instruments |
|
| +GF+ Signet pH / ORP Callibration and Maintenance Solutions |

|
| +GF+ Signet 2819-2823 Conductivity Electrodes |

|
| +GF+ Signet 2839-2842 Conductivity Electrodes |

|
| +GF+ Signet 2850 Sensor Electronics |

|
| +GF+ Signet 8860 Two Channel Conductivity Controller |
|
| 2350 Temperature Sensor |

|
| +GF+ Signet 2450 Pressure Sensor |

|
| DZR Brass Gate Valve DZR Brass Gate Valve Female BSP T Handle |

|
| Advantage 29 Series - Full Bore SDR11/PN16 11° Mitre Bends |
|
| Advantage 29 Series - Full Bore SDR11/PN16 90° Mitre Bends |
|
| Advantage 29 Series - Full Bore SDR17/PN10 45° Mitre Bends |
|
| Advantage 29 Series - Full Bore SDR11/PN16 22.5° Mitre Bends |
|
| Advantage 29 Series - Full Bore SDR11/PN16 45° Mitre Bends |
|
| Advantage 29 Series - Full Bore SDR11/PN16 11° Mitre Bends |
|
| Advantage 29 Series - Full Bore SDR17/PN10 22.5° Mitre Bends |
|
| Advantage 29 Series - Full Bore SDR17/PN10 90° Mitre Bends |
|
| Advantage 28 Series - Reduced Bore PN16 45° Mitre Bands |
|
| Advantage 28 Series - Reduced Bore PN10 22.5° Mitre Bands |
|
| Advantage 28 Series - Reduced Bore PN16 22.5° Mitre Bands |
|
| Advantage 28 Series - Reduced Bore PN16 90°Mitre Bands |
|
| Advantage 28 Series - Reduced Bore PN10 45° Mitre Bands |
|
| Advantage 28 Series - Reduced Bore PN10 90°Mitre Bands |
|
| Advantage 27 Series - Drainage PN16 - 11º 1 Mitre Bend |
|
| Advantage 27 Series - Drainage PN16 - 22º 1 Mitre Bend |
|
| Advantage 27 Series - Drainage PN16 - 30º 1 Mitre Bend |
|
| Advantage 27 Series - Drainage PN16 - 45º 2 Mitre Bend |
|
| Advantage 27 Series - Drainage PN16 - 60º 2 Mitre Bend |
|
| Advantage 27 Series - Drainage PN16 - 90º 3 Mitre Bend |
|
| Long Spigot Equal Tees |

|
| Long Spigot Hydrant Tees |
|
| PE100 SDR11 Slim Flange Assembly - FBE Coated Backing Ring |

|
| PE100 SDR11 Slim Flange Assembly - 316 St. Steel Backing Ring |
|
| Advantage 29 Series 11.25° Fabricated Bend / Long Spigot / PE100 |
|
| Advantage 29 Series, 22.5° Fabricated Bend / Long Spigot / PE100 |
|
| Advantage 29 Series, 45° Fabricated Bend / Long Spigot / PE100 |
|
| Advantage 29 Series, 90° Fabricated Bend / Long Spigot / PE100 |
|
| Advantage 28 Series, 22.5° Fabricated Bend / Long Spigot / PE100 |
|
| Advantage 28 Series, 45° Fabricated Bend / Long Spigot / PE100 |
|
| Advantage 28 Series, 90° Fabricated Bend / Long Spigot / PE100 |
|
| PE100 SDR11 PN16 - 6m Industrial Pipe |

|
| PE100 SDR11 PN16 Industrial Pipe |

|
| Modentic Stainless Steel Spring Check Female BSP Ends |

|
| PE Drainage Slab Adaptor |
|
| Mapress Stainless Steel Pipe |

|
| PE Pressure Pipe PE100 Black SDR41 PN4 |

|
| PE Pressure Pipe PE100 Black SDR26 PN6.3 |
|
| PE Pressure Pipe PE100 Black SDR21 PN8 |
|
| PE Pressure Pipe PE100 Black SDR17 PN10 |
|
| PE Pressure Pipe PE100 Black SDR13.6 PN12.5 |
|
| PE Pressure Pipe PE100 Black SDR11 PN16 |
|
| PE Pressure Pipe PE100 Black SDR9 PN20 |
|
| PE Pressure Pipe PE100 Black SDR7.4 PN25 |
|
| PE Pressure Pipe PE100 Blue Jacket SDR13.6 PN12.5 |

|
| PE Pressure Pipe PE100 Blue Jacket SDR11 PN16 |
|
| PE Pressure Pipe PE100 Blue Stripe SDR13.6 PN12.5 |
|
| PE Pressure Pipe PE100 Blue Stripe SDR 11 PN16 |
|
| PE Pressure Pipe PE100 Cream Jacket SDR17 PN10 |

|
| PE Pressure Pipe PE100 Cream Jacket SDR13.6 PN12.5 |
|
| PE Pressure Pipe PE100 White Jacket SDR41 PN4 |

|
| PE Pressure Pipe PE100 White SDR26 PN6.3 |
|
| PE Pressure Pipe PE100 White Jacket SDR21 PN8 |
|
| PE Pressure Pipe PE100 White Jacket SDR17 PN10 |
|
| PE Pressure Pipe PE100 White Jacket SDR13.6 PN12.5 |
|
| PE Pressure Pipe PE100 White Jacket SDR11 PN16 |
|
| PE Pressure Pipe PE100 White Jacket SDR9 PN20 |
|
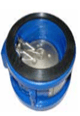
| Belgicast Resilient Seated Gate Valve |
.png?width=80&name=Belgicast%20image%2050mm_service_valve-removebg-preview%20(1).png)
|
| Prisma Pneumatic Actuators |

|
| Rotork - Electric 1/4 Turn |

|
| Itork - Electric 1/4 Turn Budget |

|
| Rotork - Electric Multi Turn |

|
| Rotork - Hydraulic Actuator |

|
| Rotork - Electro-Hydraulic Actuator |

|
| Swichboxes |

|
| Neles, Rotork - Positioners |

|
| Solenoid Valves |
|
| Asmuss, Neles - Control Panels |

|
| Penstocks |
|
| Cotswold Penstocks - Stop Boards |

|
| Cashco - Flame Arrestors |

|
| AVK Resilient Seated Gate Valves - Clockwise Closing Double Flanged |
|
| AVK Resilient Seated Gate Valves - Anti-Clockwise Closing Double Flanged |
|
| AVK Fire Hydrant |
|
| WANG VARI-GIB Straight Coupling PN16 SS/SS SS |
|
| VGIB Flange Adaptor PN16 AS4087. DI. SS Bolts |

|
| VGIB Blank End PN16 DI SS Bolts |

|
| WANG VARI-GIB Straight Coupling PN16 SS/FC SS |
|
| WANG VARI-GIB Straight Coupling PN16 FC/FC SS |

|
| WANG Repair Clamp - PN16 SS Tapped |

|
| WANG Repair Clamp - Small Repair Clamps |

|
| WANG Repair Clamp - PN16 316 SS |

|
| 90° Short Radius Elbows |

|
| 90° Long Radius Elbows |

|
| 45° Long Radius Buttweld Elbows |

|
| Butt Weld Concentric Reducer |

|
| Butt Weld Eccentric Reducer |

|
| Butt Weld Equal Tee |

|
| Butt Weld Reducing Tee |

|
| Proco Inline Check Valve |

|
| A-Gate Brass Gate Valves |

|
| Butt Weld Caps |

|
| Sockets |

|
| Slip-On Plate Flat Face Flange Table E |
|
| Blind Flange Table E |
|
| Blind PN16 Flange |

|
| Slip-On Forged Face Flange Table E |
|
| Slip-On PN16 Flange |

|
| Gibaults for S1 PVC Pipe |

|
| Blank Cap Gibaults |

|
| Tapping Bands |

|
| Long Spigot SDR17 Butt Weld Tee |
|
| SDR17 Butt Weld Stub Flange |
|
| SDR17 Buttweld Stub Flanges |
|
| Gibaults for CI, DI, AC, Fibrelite pipe |

|
| Blank Cap Gibaults for CI, DI, AC, Fibrelite pipe |

|
| SDR17 Long Spigot Angle Branch WYE |
|
| Stepped Gibaults for S1 PVC, CI, DI, AC, Fibrelite pipe |

|
| SDR17 Long Spigot Reducing Tee |
|
| SDR17 Long Spigot Tee |
|
| SDR17 Long Spigot Reducer |
|
| SDR17 Long Spigot Elbow 45 |
|
| SDR17 Long Spigot Elbow 90 |
|
| uPVC Metric PN16 Pipe |
|
| Vulcathene - Circular Drip Cup Small |

|
| Vulcathene - Oval Drip Cup |

|
| Vulcathene - Sink (Injected Moulded) |
.jpg?width=80&name=Vulcathene%20-%20Sink%20(Injected%20Moulded).jpg)
|
| Vulcathene - Sink (Vacuum Formed) |
|
| Vulcathene - Trough |

|
| Vulcathene - Running Trough |

|
| Vulcathene - Waste Slotted |
|
| Vulcathene - Waste Unslotted |
|
| Vulcathene - Plug & Chain Assemblies |

|
| Vulcathene - Overflow Assemblies |

|
| Vulcathene - Standing Waste Tubes Plain |

|
| Vulcathene - No Heat Olive |
|
| Vulcathene - Nut |

|
| Vulcathene - Blanking-Off Plug |

|
| Vulcathene - Spanner |

|
| Vulcathene - Cutting Tool |

|
| Vulcathene - Lubricant |

|
| Vulcathene - Long Sweep Bend M & F |

|
| Vulcathene - Socketed Long Sweep Bend |

|
| Vulcathene - Socket Short Sweep Bend |

|
| Vulcathene - Socketed 45° Bend |

|
| Vulcathene - Socket-Spigot 45° Slow Bend |

|
| Vulcathene - 92½° Equal Sweep Tee Socketed |

|
| Vulcathene - 92½° Reducing Sweep Tee Socketed |

|
| Vulcathene - 45° Single Wye (Socketed) |
.jpg?width=80&name=Vulcathene%20-%2045%C2%B0%20Single%20Wye%20(Socketed).jpg)
|
| Vulcathene - 45° Reducing Wye (Socketed) |
.jpg?width=80&name=Vulcathene%20-%2045%C2%B0%20Reducing%20Wye%20(Socketed).jpg)
|
| Vulcathene - 92½° Double Branch (Socketed) |
.jpg?width=80&name=Vulcathene%20-%2092%C2%BD%C2%B0%20Double%20Branch%20(Socketed).jpg)
|
| Vulcathene - Coupler (Socketed) |
.jpg?width=80&name=Vulcathene%20-%20Coupler%20(Socketed).jpg)
|
| Vulcathene - Reducer Coupler (Socketed-Spigot) |
|
| Vulcathene - P Trap (Socketed) |
.jpg?width=80&name=Vulcathene%20-%20P%20Trap%20(Socketed).jpg)
|
| Vulcathene - U Bend (Socketed) |
.jpg?width=80&name=Vulcathene%20-%20U%20Bend%20(Socketed).jpg)
|
| Vulcathene - Access Pipe |

|
| Vulcathene - Flange |

|
| Vulcathene - Cleanout Plug |

|
| Vulcathene - Enfusion Control Box |
|
| Vulcathene - Pipe Scraper |

|
| Vulcathene - Clamps (Socketed) |
.jpg?width=80&name=Vulcathene%20-%20Clamps%20(Socketed).jpg)
|
| Vulcathene - Link Cable |

|
|
|
|
| DI Bitumen - End Cap |
|
| DI Bitumen - Irrigation Tee |
|
| DI Nylon - S1 Socket Tee |
|
| DI Bitumen - S1 Socket Tee |
|
| DI Bitumen - S1 Socket Reducer |
|
| DI Nylon - S1 Socket Reducer |
|
| DI Pipe - Dimax Tyton PN35 |

|
| Socket Equal PVC-U Metric |

|
| Snap Ring PE |

|
| Spacer PP-H |

|
| Foil Roll PE |

|
| Leak Detection Electrofusion Saddle |

|
| Adapter for Branch Saddle |

|
| Adaptor Bush Equal PVC-U Metric R |

|
| Ball Valve 546 PVC-U |

|
| Monitoring Pipe PVC-U, Transparent |

|
| Elbow 90° PVC-U-PE100 |

|
| Elbow 45° PVC-U-PE100 |

|
| Tee equal PVC-U-PE100 |

|
| Termination fitting PVC-U-PE100 |

|
| Ball valve type 546 PVC-U-PE100 - Tangit |

|
| Ball valve type 546 PVC-U-PE100 - Dytex |
|
| Mechanical joint PVC-U-PE100 - Dytex |

|
| Mechanical joint PVC-U-PE100 - Tangit |
|
| Pipe PVC80 |

|
| 90° Elbow PVC80 |

|
| 45° Elbow PVC80 |

|
| Tee PVC80 |

|
| Closure Coupling PVC80 |

|
| Termination Fitting PVC80 |

|
| Test Termination Fitting PVC80 |

|
| GeoFlex® Single Ball Joint DN100 to DN600 |
|
| GeoFlex® Double Ball Joint DN100 to DN600 |

|
| GeoFlex® Double Ball Joint DN1100 to DN1800 |
|
| GeoFlex® Double Ball Joint DN700 to DN1000 |
|
| SS 4087 PN16 Backing Ring Table E Drilling for PE |

|
| SS 4087 PN16 Backing Ring Table D Drilling for PE |
|
| Galvanised Backing Ring Table E Drilling for PE |
|
| Galvanised 4087 PN16 Backing Ring Table D-E Drilling for pe |
|
| FBE Coated Backing Ring Table E Drilling for PE |

|
| FBE Coated 4087 PN16 Backing Ring Table D-E Drilling for PE |
|
| Dressing Set Galv Bolts Table D EPDM Gasket |
|
| Dressing Set 316SS Bolts Table D EPDM Gasket |
|
| Advantage 29 SDR11-PN16 11° 1m Bend |
|
| Advantage 29 SDR11-PN16 22.5° 2m Bend |
|
| Advantage 29 SDR11-PN16 45° 3m Bend |

|
| Advantage 29 SDR11-PN16 90° 6m Bend |
|
| Advantage 29 SDR17-PN10 11° 1m Bend |
|
| Advantage 29 SDR17-PN10 22.5° 2m Bend |
|
| Advantage 29 SDR17-PN10 45° 3m Bend |
|
| Advantage 29 SDR17-PN10 90° 6m Bend |
|
| Advantage 28 PN16 22.5° 1m Bend |
|
| Advantage 28 PN16 45° 2m Bend |

|
| Advantage 28 PN16 90° 3m Bend |
|
| Advantage 28 PN10 22.5° 1m Bend |
|
| Advantage 28 PN10 45° 2m Bend |
|
| Advantage 28 PN10 90° 3m Bend |
|
| Advantage 27 PN16 11° 1m Bend |
|
| Advantage 27 PN16 22° 1m Bend |
|
| Advantage 27 PN16 33° 1m Bend |

|
| Advantage 27 PN16 45° 2m Bend |
|
| Advantage 27 PN16 60° 2m Bend |
|
| Advantage 27 PN16 90° 3m Bend |
|
| Long Spigot Equal Tees PN8 |

|
| Long Spigot Reducing Tees PN8 |
|
| Long spigot hydrant tees SDR11 |

|
| Slim Flange Assembly FBE Coated Backing Ring SDR11-PN16 |

|
| Slim Flange Assembly 316 St. Steel Backing Ring SDR11-PN16 |
|
| +GF+ Type 565 Wafer Butterfly Valve EPDM Seat With Lever Handle |

|
| +GF+ Type 565 Wafer Butterfly Valve EPDM Bare Shaft |
|
| +GF+ Type 565 Wafer Butterfly Valve FPM With Lever Handle |
|
| +GF+ Type 565 Wafer Butterfly Valve FPM Bare Shaft |

|
| +GF+ 546 Pro Double Union Ball Valve - PVC-U, EPDM Seals |

|
| +GF+ 546 Pro Double Union Ball Valve - ABS, EDPM Seals |
|
| +GF+ 546 Pro Double Union Ball Valve - PVC-U, FPM Seals |
|
| +GF+ 546 Pro Double Union Ball Valve - PVC-C, FPM Seals |
|
| +GF+ 546 Pro Double Union Ball Valve - PP-H, FPM Seals |
|
| +GF+ 546 Pro Double Union Ball Valve - PP-H, EDPM Seals |
|
| +GF+ 546 Pro Double Union Ball Valve - PVDF, FPM Seals |
|
| +GF+ 542 Ball Valve - PVC-U, EDPM Seals |

|
| +GF+ 542 Ball Valve - PVC-U, FPM Seals |
|
| +GF+ 546 PRO Vented Ball Valve - PVC-U, EPDM Seals |
|
| +GF+ 562 Spring Check Valve - PVC-U, EPDM Seals |

|
| GF P20 Water Jet Suction Pump - PVC-U, EDPM Seals |
|
| Valmatic Wastewater Air Release Valve |
|
| Valmatic Wastewater Air Vacuum Valve |

|
| Valmatic Wastewater Combination Air Valve |
|
| Prisma Limit Switch |

|
| Electrofusion Drainage Coupler |

|
| GF Diastar 10 Actuated Valve, EPDM O-Rings |

|
| GF Diastar 10 Actuated Valve, FPM O-Rings |
|
| GF Diastar 6 Actuated Valve, EPDM O-Rings |

|